
Vintage and designer frames often fit better, feel more “you,” and look harder to replace than the lenses inside them. The good news is that you can usually keep the frames you love and update the vision with new prescription lenses, modern coatings, or sunglass options.
This guide is for anyone who wants to replace lenses in vintage frames, handle a designer frame lens replacement without surprises, or reglaze glasses online while minimizing risk. You’ll learn how to tell if your frames are a good candidate, what lens choices matter most, and exactly how to prep and send frames for replacement.
First: Is your frame a good candidate for new lenses?
Most frames can accept new lenses, but “can” and “should” are different. Before you order anything, do a quick condition check so you do not pay for lenses that cannot be safely installed.
Quick inspection (2 minutes)
- Front shape is stable: The frame front should not be warped or twisted when you set it on a flat surface.
- Hinges and screws are intact: Open and close the temples; they should not grind, wobble, or feel like they will snap.
- Grooves and eyewire look clean: For full-rim frames, check that the inner rim channel is not cracked or heavily worn.
- No hairline cracks at stress points: Look closely near the bridge, end pieces, and around old screw holes.
If your frames are very old, have brittle acetate, or show stress cracks, the safest route is usually a service that can evaluate the frame before lens cutting and installation. If you’re using a send-in service, take clear photos first (front, both sides, close-ups of any damage) so you have a record of the frame’s condition.
What changed / what’s new (and why it matters for replacing lenses)
Ordering replacement lenses online has gotten easier partly because prescription access has become more consumer-friendly. Under the FTC Eyeglass Rule, prescribers must provide a copy of your eyeglass prescription after your refraction (the part of the exam that determines lens power), which makes it simpler to shop for new lenses without being locked into one store.
The FTC also finalized updates intended to modernize how patients receive and acknowledge their prescriptions. If you want the details, the FTC’s final rule announcement updating the Eyeglass Rule explains the changes and the compliance timeline.
Decide your goal: clearer vision, better comfort, or a new “use case”

Replacing lenses is not only about updating a prescription. It is also your chance to make the glasses work better for how you live now: computer-heavy days, more driving, outdoor sports, or needing one pair that transitions between environments.
Common replacement goals (pick 1–2)
- Refresh an outdated prescription while keeping a favorite frame.
- Upgrade to progressives (multifocal lenses without a visible line) in a frame you already love.
- Add sun performance for driving glare, snow days, or water sports.
- Simplify travel with one pair that handles indoor and outdoor lighting.
- Improve durability if your current lenses scratch easily or feel heavy.
Once you know the goal, the lens choices get much easier. You are no longer selecting from a menu of options. You are building the lens around how you use your glasses.
Lens choices that matter most (without the jargon)
“New lenses for old frames” can mean many different builds. You will typically choose (1) lens type, (2) lens material and thickness approach, and (3) coatings and sun options.
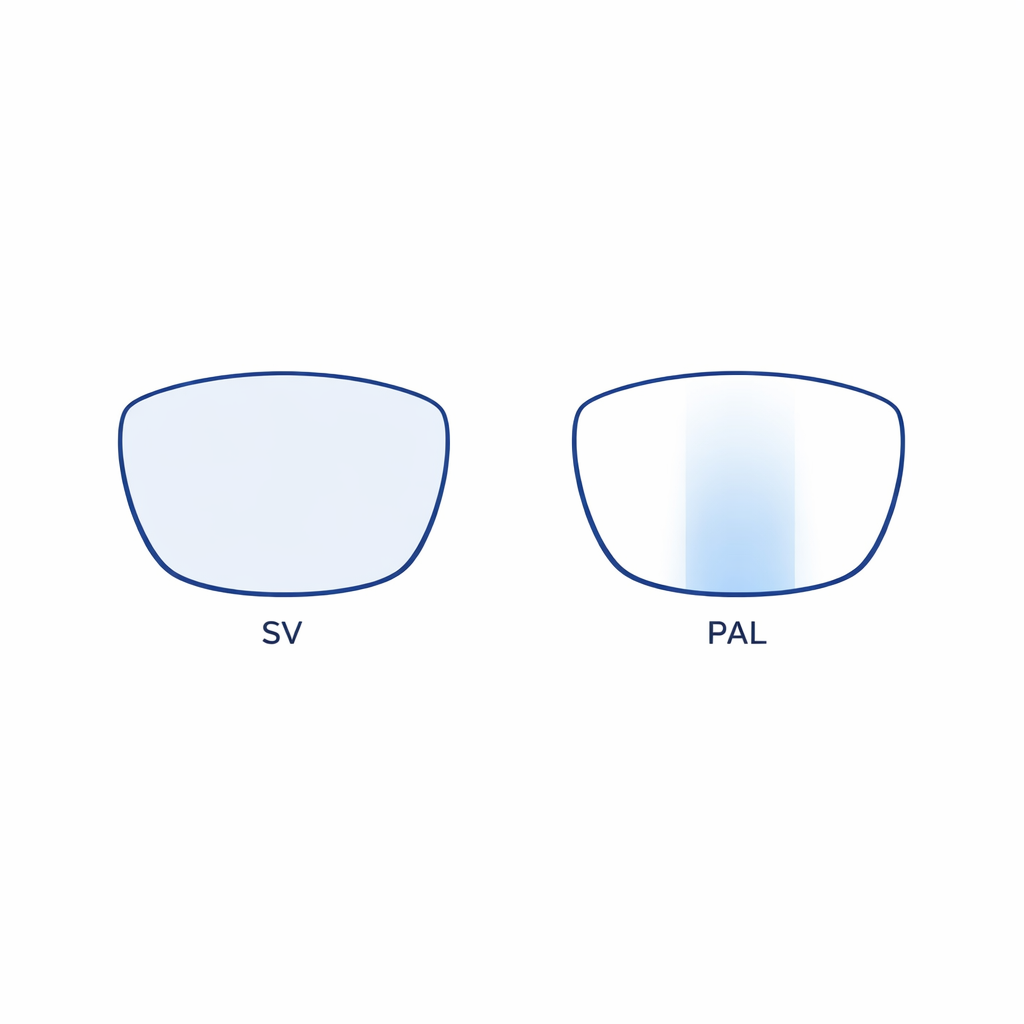
1) Lens type: single vision, progressives, or something task-specific
Single vision lenses correct one viewing distance (near or far). They tend to be the simplest option for replacing lenses in old glasses, especially if the frame is small, narrow, or delicate.
Progressive lenses blend distance, intermediate, and near vision into one lens. They can be a great upgrade for progressive lenses for old frames, but they demand more accurate measurements and enough lens height to fit the progressive design comfortably.
Task-specific options (like computer-focused lenses) are worth considering if your discomfort is mainly neck strain, screen fatigue, or switching between laptop and phone all day. If you are not sure what you need, an optometrist can help you match the lens design to your daily distances and posture.
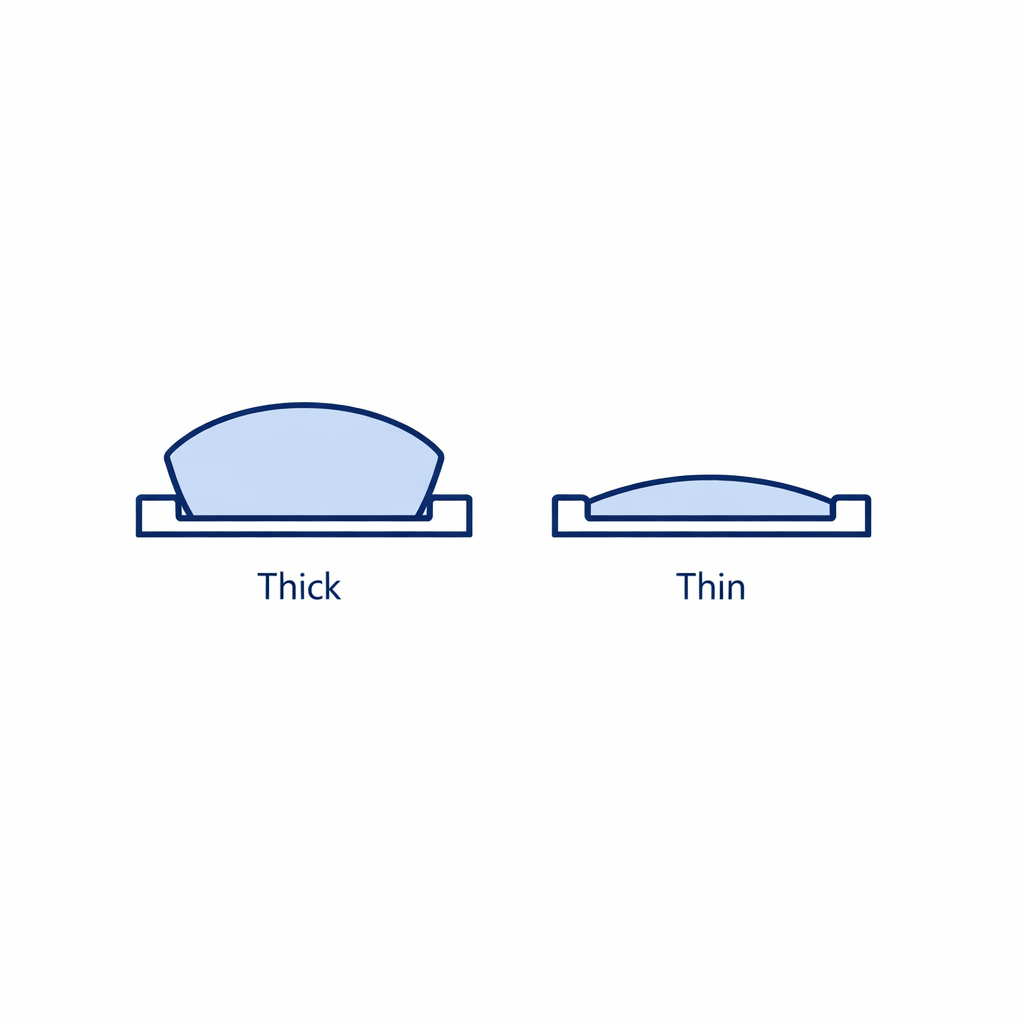
2) Material and thickness: match the lens to the frame
When people worry about “fitting new lenses into old frames,” they are often really worried about thickness, edge appearance, or whether the frame can safely hold the lens. The “right” material choice depends on your prescription strength, the frame’s size and shape, and whether the frame is full-rim, semi-rimless, or rimless.
- Full-rim acetate or metal frames: Usually the most forgiving for lens replacement because the lens is fully supported.
- Semi-rimless: The lens edge shape and groove work are more sensitive; installation needs care to avoid chipping.
- Rimless/drill-mount: The lens must be drilled or notched precisely; older rimless hardware can be fragile, and lens choice matters for longevity.
If your goal is a luxury frame lens replacement that preserves the original look, ask for guidance on thickness and cosmetics before ordering. A good replacement process will consider not just the prescription, but the frame geometry and how the lens will sit once mounted.
3) Coatings and sun features: the upgrades you feel every day
Coatings are often where a lens replacement feels “new,” even if your prescription barely changed. If you drive often or spend time outdoors, sun and glare control can make a bigger real-world difference than a small prescription tweak.
- Anti-reflective (AR) coating: Helps reduce reflections from screens and headlights and can make lenses look clearer in photos.
- Scratch resistance: Especially helpful if your old lenses look hazy from micro-scratches.
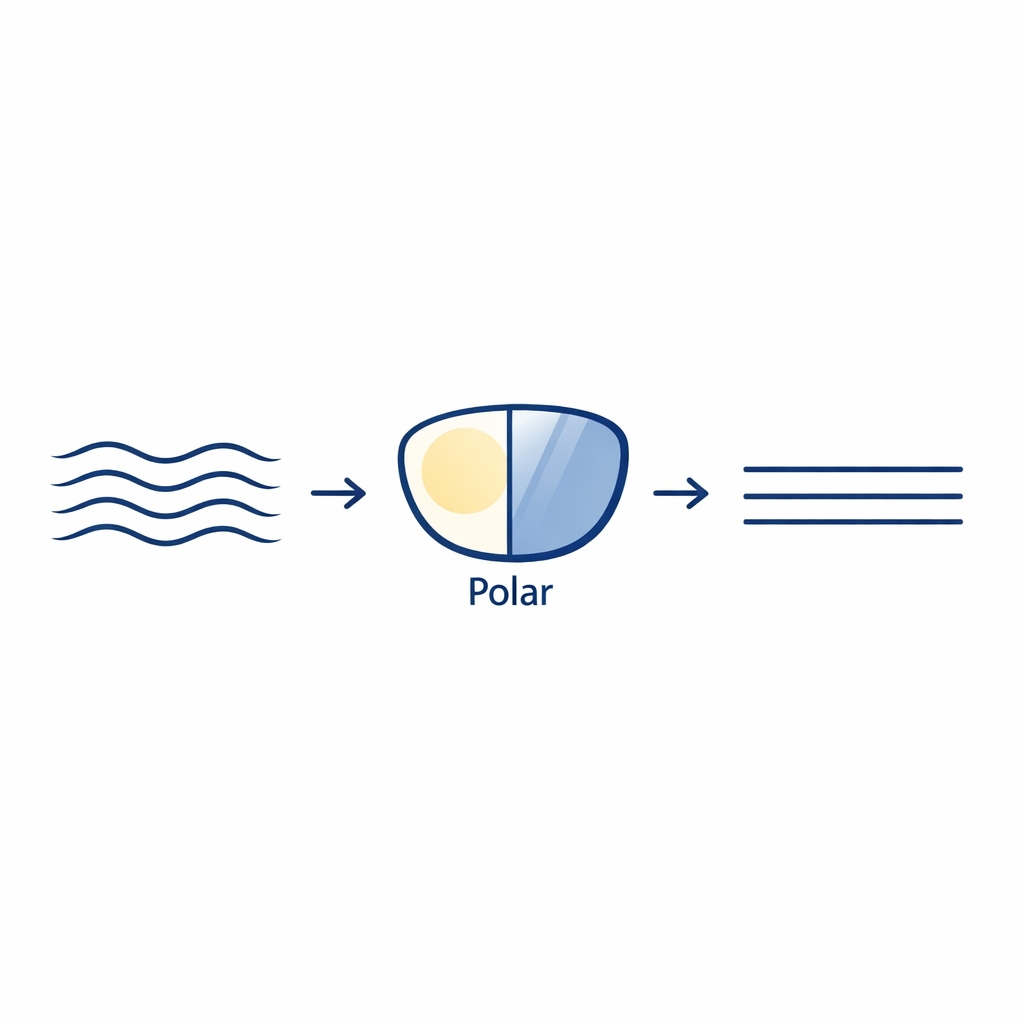
- UV protection and sunglasses options: For outdoor use, look for lenses that prioritize UV and glare management. The American Academy of Ophthalmology’s sunglasses guidance explains what to look for, including UV protection and when polarization can help with glare.
- Polarized sunglasses lenses: A strong choice for driving glare and water reflections, and often a smart upgrade when doing a designer sunglasses lens replacement.
- Photochromic lenses: If you want “one pair for everything,” Transitions lenses are a common option that changes tint in response to UV exposure.
If you are building sunglass lenses for driving or snow, prioritize the features you will notice: comfortable tint, glare control, and good clarity. Then add extras only if they solve a real problem for you.
Measurements you cannot skip (especially for progressives)
For the best results when you keep frames replace lenses, your order needs both an accurate prescription and the right measurements so the optics line up with your eyes.
Pupillary distance (PD) is one of the most important numbers because it helps place the optical center of each lens in front of your pupils. If you do not have your PD, use a step-by-step guide like Learn How to Measure Your Pupillary Distance and measure more than once for confidence.
If you are ordering progressives, you may also need a fitting height (often called “segment height”), which depends on where the frame sits on your face. This is one reason some people prefer a full-service send-in replacement for progressives, because the lab can confirm the frame parameters and the best placement for the design you picked.
Two main paths: full-service send-in vs. DIY lens replacement
There is no single “best place to get new lenses in old frames.” The right path depends on how valuable or fragile your frames are, whether you want progressives, and how much you want to manage yourself.
Option A: Full-service replacement (send your frames in)
If your frames are vintage, delicate, or truly irreplaceable, a full-service approach is usually the safer option. With LensDirect, you can start with Full-Service Replacement (send-it-in option), which is designed for people who want a lab to handle the lens cutting and installation after receiving the frames.
- Best for: vintage acetate, rimless/drill-mount, high-prescription thickness concerns, progressives, and high-value designer frames.
- Tradeoff: You will be without your frames during processing, so plan a backup pair if you need one daily.
Option B: DIY replacement lenses (you install)
If you are comfortable handling frames, or your frame design is straightforward and sturdy, DIY can be faster and sometimes more cost-efficient. LensDirect offers a starting point at Order Replacement Lenses (DIY option) for people who want to replace lenses in existing frames and do the installation themselves.
- Best for: sturdier full-rim frames, people who have installed lenses before, and those who want maximum control of timing.
- Tradeoff: Higher risk of frame damage if the material is brittle or the fit is tight.
If you are on the fence, choose the option that reduces risk. A designer frame lens replacement is usually about preserving something you cannot easily replace, which often favors full-service.
Mail-in lens replacement tips: how to send frames safely
If you are using a send-in service, treat your frame like a delicate piece of jewelry. Most problems happen in the packing and shipping stage, not in the lab.
Before you pack
- Photograph the frame clearly (front, temples open, hinges, and close-ups of any existing scuffs or cracks).
- Remove accessories you want to keep (aftermarket chains or charms), and keep your case at home unless the instructions ask for it.
- Clean gently with a microfiber cloth so existing damage is visible and documented.
Packing checklist (simple and effective)
- Protect the frame: Wrap the frame in a clean soft cloth or lens cloth, then place it in a hard case if you have one.
- Prevent movement: Put the case inside a box with padding so it cannot slide around.
- Use a sturdy outer box: Avoid soft mailers; they crush easily.
- Add your info inside the box: Include order details and contact info in case the label is damaged.
Also plan for downtime. If these are your only glasses, set aside a backup pair or consider ordering an additional pair before you mail in your daily wear frames.
Vintage frames: what makes them trickier (and how to avoid breakage)

Vintage frames are often more fragile than they look. Plastic can dry out, metal can fatigue, and old screws can seize. The goal is not just to “get new lenses in old frames,” but to keep the frame wearable for years after the lens swap.
Common vintage issues
- Acetate brittleness: Older acetate can crack during lens removal if it has dried out or shrunk.
- Frame shrinkage or warping: Heat, time, and storage conditions can subtly change the lens opening shape.
- Corroded hardware: Screws and end pieces may be more likely to strip or snap.
- Non-standard shapes: Some older frames were made with lens shapes that do not match modern blanks cleanly.
If you want to replace lenses in vintage frames and the frame has sentimental or collector value, do not force anything at home. A professional install is often the difference between a smooth upgrade and a cracked eyewire.
Designer frames and luxury sunglasses: special considerations
Designer eyewear can be straightforward or surprisingly specialized. “Luxury frame lens replacement” gets complicated when the frame uses unusual grooves, wrapped curvature, shield shapes, or branded hardware that is hard to replace if it breaks.
Watch for these designer-specific challenges
- Wrap sunglasses: High wrap angles can limit which prescriptions and lens designs work well, and they can affect optical clarity if not designed correctly.
- Shield and semi-shield styles: Large single-lens designs often require more precise cutting and finishing.
- Decorative screws and proprietary parts: Some frames use brand-specific hardware that can be difficult to source if damaged.
- Existing lens features: If your current lenses are polarized, mirrored, or highly curved, matching the look may require intentional choices, not a default replacement.
If you are doing a “Versace sunglasses lens replacement” or “Prada glasses lenses” type of project, treat it like restoration. You are aiming to preserve fit and aesthetics while improving comfort and clarity.
How to choose lenses that match the original look (and avoid surprises)
People often love vintage and designer frames because the proportions feel right. A lens replacement can change the look if you do not think about thickness, edge finish, and tint choices.
To keep the original vibe
- Match lens shape exactly: The lab should cut to the true frame shape, not a “close enough” template.
- Be intentional about tint: For sunglasses, decide whether you want a classic solid tint, gradient, or polarization for glare control.
- Ask about edge appearance: Some frames show more lens edge than others, especially thinner metal frames or larger lens openings.
- Consider AR on clear lenses: It can make lenses look clearer and less “busy,” especially in thicker prescriptions.
If your frame is a statement piece, the lens should support it, not compete with it. A clean, well-finished lens often makes a vintage or designer frame look more premium than it did with scratched, aged lenses.
Common mistakes and misconceptions
Mistake: Assuming any frame can take any lens upgrade
Not every frame is a great candidate for every lens type. Very shallow frames may not be comfortable for progressives, and some wrap sunglasses need special consideration to keep optics comfortable.
Mistake: Ordering without confirming you have the right prescription details
For online ordering, make sure your prescription is current and includes the values you need. If you do not have your prescription on hand, the FTC Eyeglass Rule is the consumer protection that requires your prescriber to provide it after your refraction.
Mistake: Treating PD as optional
Even the best lenses can feel “off” if the optics are not centered correctly for your eyes. Use Learn How to Measure Your Pupillary Distance and double-check your number before you submit an order.
Mistake: Packing frames loosely for shipping
Mail-in replacement can be very convenient, but shipping damage is preventable. Use a hard case, immobilize it inside a box, and document the frame condition with photos before you send it out.
Misconception: “Reglazing” is only for old or cheap frames
Reglazing (replacing lenses in an existing frame) is common for everything from daily wear basics to luxury frames. For many people, it is the most practical way to keep a perfect fit while upgrading to modern lens features.
What to do next: a practical checklist
Use this as a step-by-step plan whether you are replacing lenses locally or ordering online.
- 1) Inspect your frame: Check for cracks, warping, and loose hinges.
- 2) Confirm your prescription: Make sure it is current and readable. If you need a copy, review your rights under the FTC Eyeglass Rule.
- 3) Measure your PD: Follow Learn How to Measure Your Pupillary Distance and measure twice.
- 4) Choose your lens goal: single vision, progressives, or sunglasses performance.
- 5) Decide your replacement path: choose Full-Service Replacement (send-it-in option) for fragile or valuable frames, or Order Replacement Lenses (DIY option) if your frame is sturdy and you are comfortable installing.
- 6) Pick the upgrades you will actually notice: AR, scratch resistance, and sun solutions like polarization or photochromic lenses if you want one pair that adapts.
- 7) Plan your downtime: Keep a backup pair if these are your everyday glasses.
Keep the frames you love. Upgrade the lenses.
If you want to keep your favorite vintage or designer frames but see better today, LensDirect makes it easy to start with the path that fits your comfort level. You can choose a full-service mail-in replacement when you want the most hands-off option, or order DIY replacement lenses when you prefer to handle installation yourself.
- Replace Your Lenses
- Full-Service Replacement (send-it-in option)
- Order Replacement Lenses (DIY option)
If you are also shopping for a backup pair or a different look for a different part of your life, you can explore:
For sizing and ordering help, these quick guides can keep the process smooth:
- Find Your Fit
- Learn How to Get Reimbursed by Your Insurance
- Learn How to Measure Your Pupillary Distance
Author
Subscribe to our email newsletter to get the latest posts delivered right to your email.