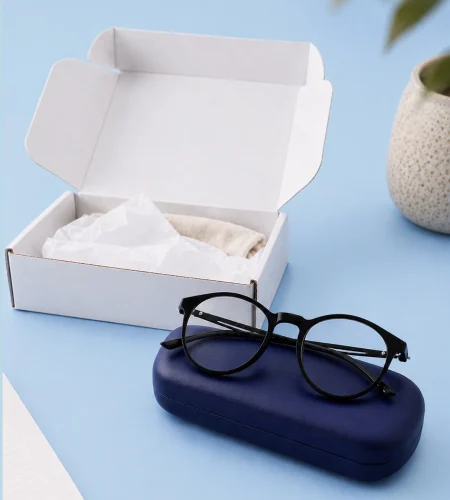
Mail-in lens replacement is one of the easiest ways to refresh a favorite pair of frames without starting from scratch. The only real risk is shipping damage, which is usually preventable with the right packing steps.
This guide is for anyone sending eyeglasses or prescription sunglasses to a lab for lens replacement, repairs, or adjustments. You will learn exactly how to package eyeglasses for shipping, what to include in the box, and how to avoid the most common “it arrived broken” mistakes.
Why glasses get damaged in transit (and what you are trying to prevent)
Most shipping damage happens for three reasons: crushing, bending, and abrasion. Frames can get squeezed under heavier boxes, temples can snag and twist, and lenses can rub against hard surfaces.
Your goal is simple: immobilize the frame, cushion it on all sides, and use a rigid outer box that stays intact if it gets dropped or stacked.
What changed / what’s new (2026 shipping reality)
Packaging best practices have not changed much, but shipping logistics have. If you do not have a printer, some carriers can still help you ship with a scannable code at the counter, such as the USPS option described under Label Broker.
Pickup is also easier than it used to be, which can reduce “extra handling” from dropping a box into an overfilled bin. For example, USPS offers options to schedule a package pickup (availability varies by location and service).
Damage-free glasses shipping checklist (fast version)
- Clean and inspect your frames so you can spot pre-existing cracks or loose screws.
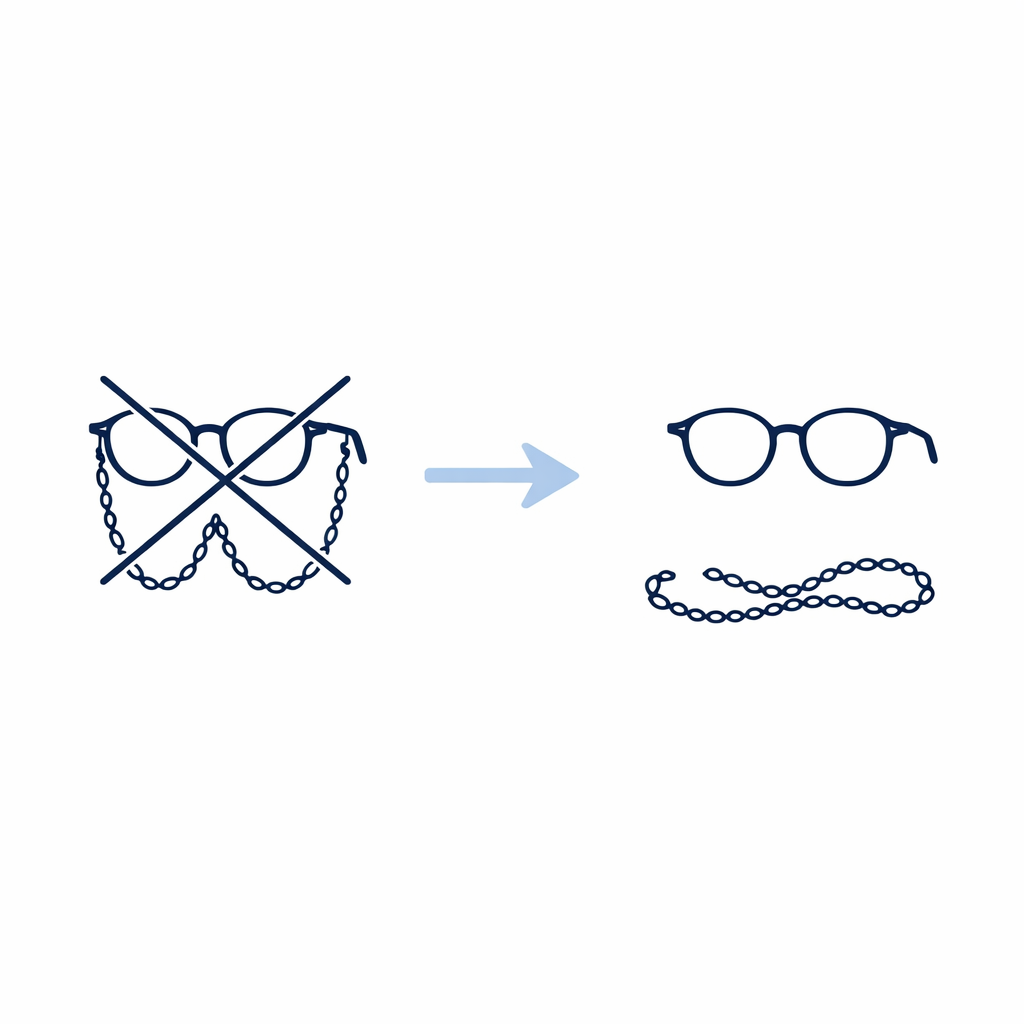
- Remove anything that can snag (chains, decorative charms) and fold temples carefully.
- Protect the lenses with a soft pouch or lens cloth (avoid anything gritty).
- Immobilize the frame inside a hard case or a padded “inner box.”
- Use a rigid outer box with at least a couple inches of cushion on every side.
- Fill all empty space so nothing shifts when you shake the box gently.
- Seal like it matters using strong packing tape on all seams.
- Include a note inside with your name, order number, and return shipping info.
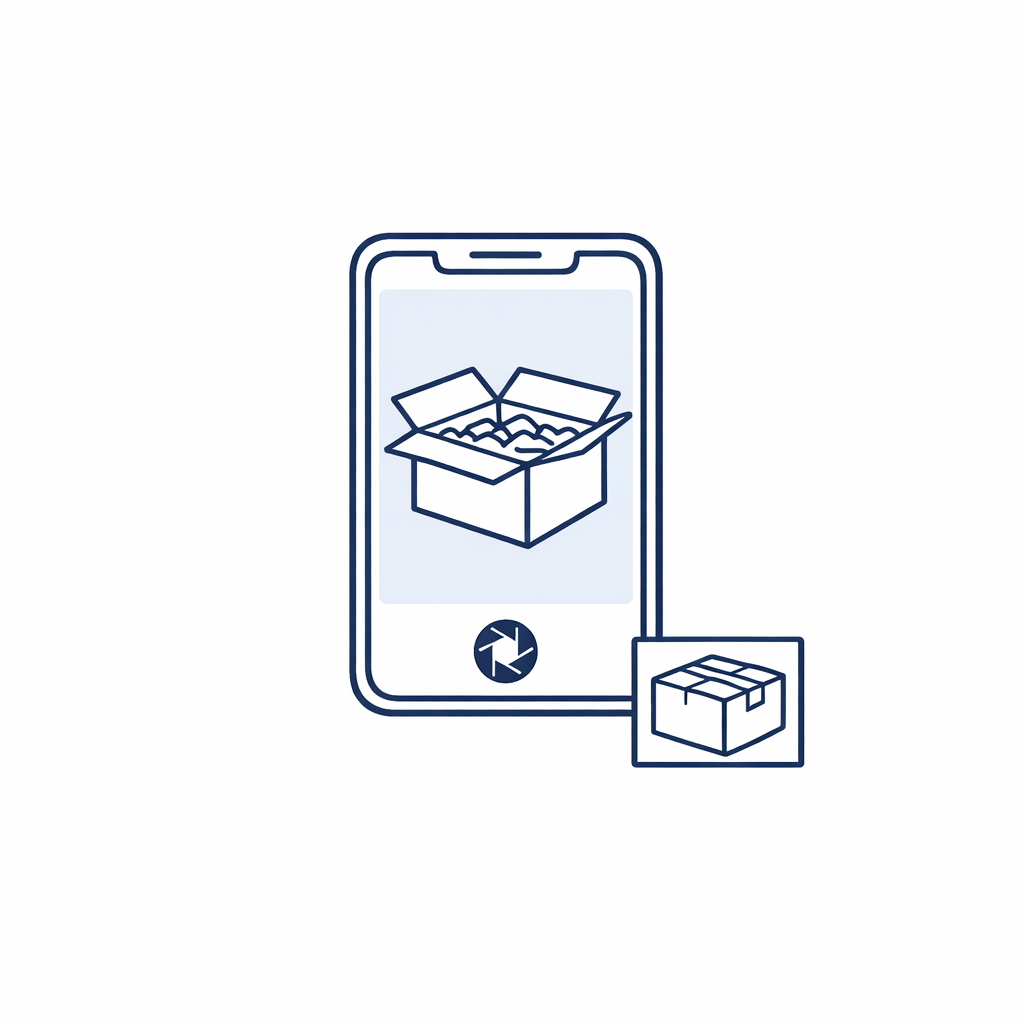
- Take quick photos of the packed item and the sealed box before you ship.
Step-by-step: how to ship glasses safely (the careful method)
Step 1: Prep the frames (2 minutes)
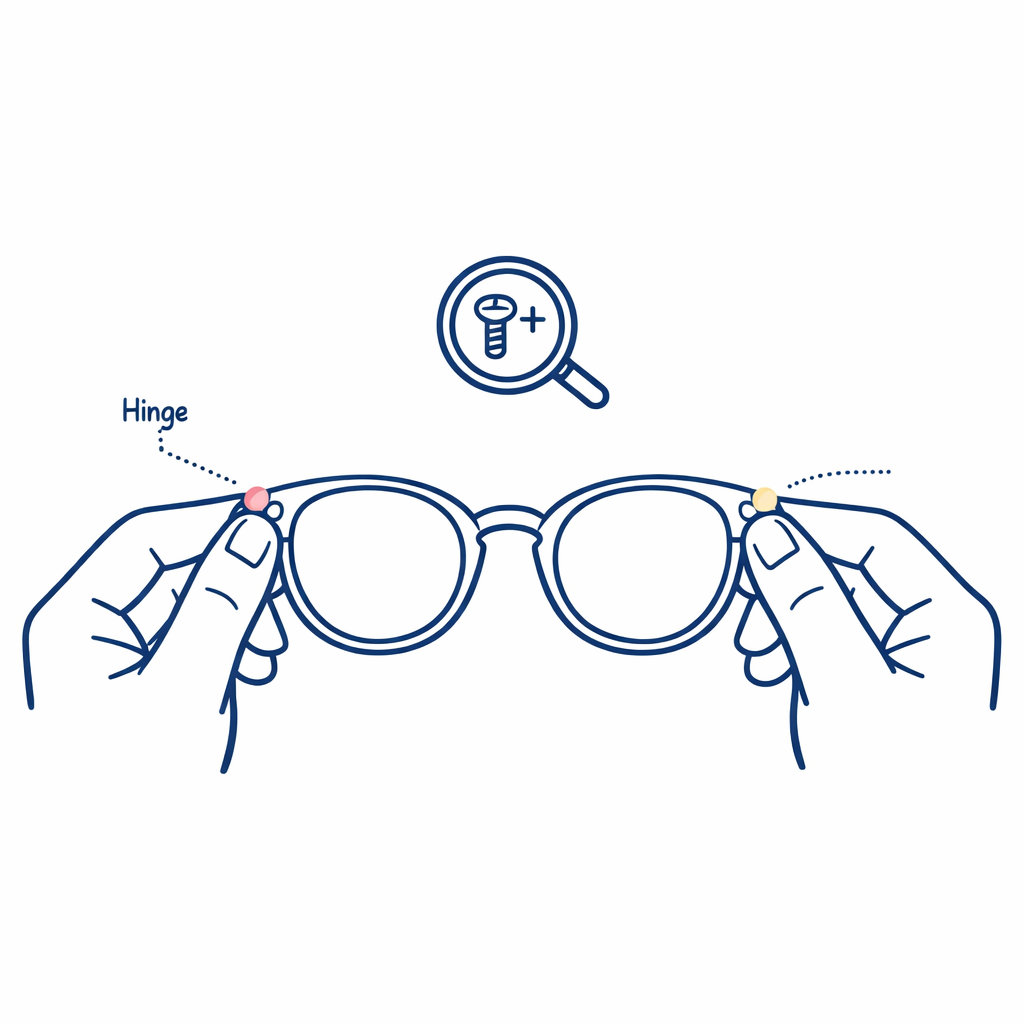
Open and close the temples gently, and check for loose screws, cracked acetate, or bent metal. If something already feels unstable, pack even more conservatively and consider contacting the replacement service before mailing.
For especially valuable frames, take a few photos from multiple angles so you have a record of condition before shipping.
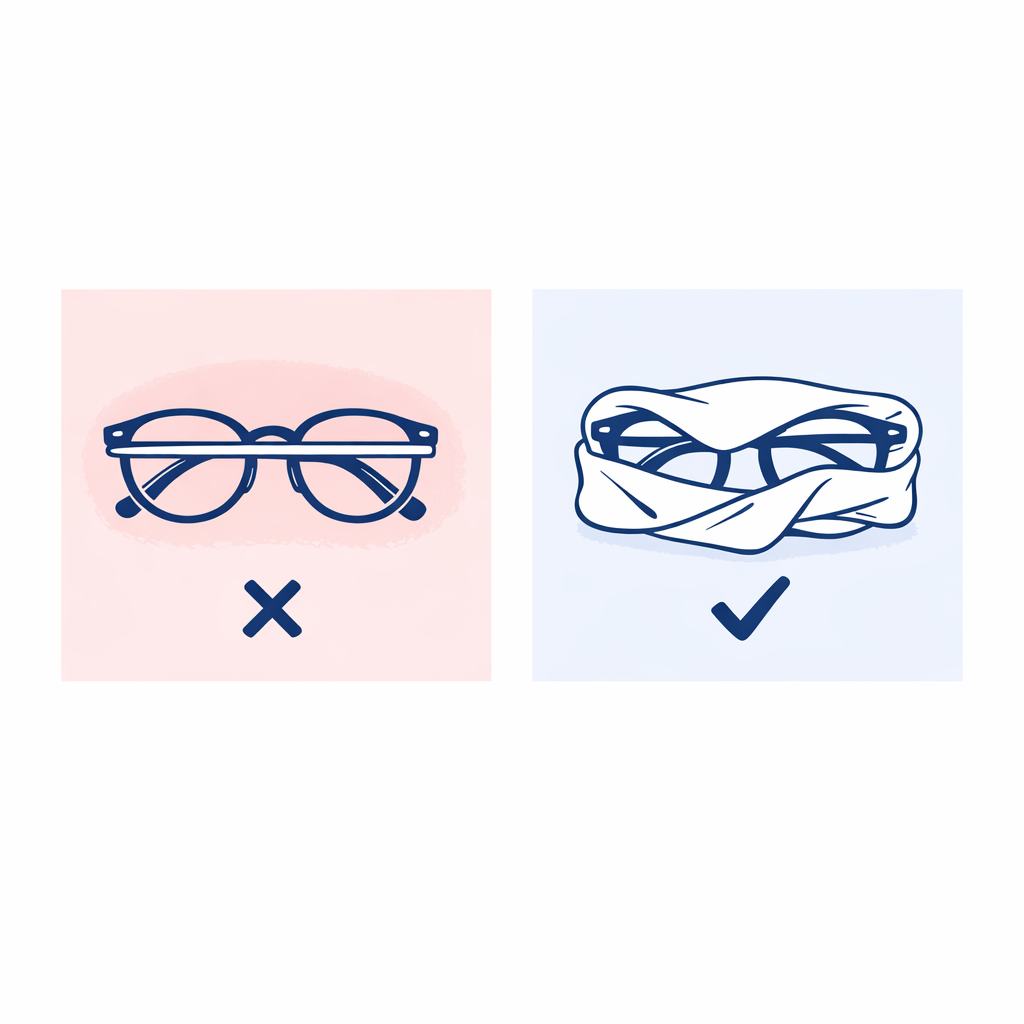
Step 2: Protect lenses and finish (avoid scratches)
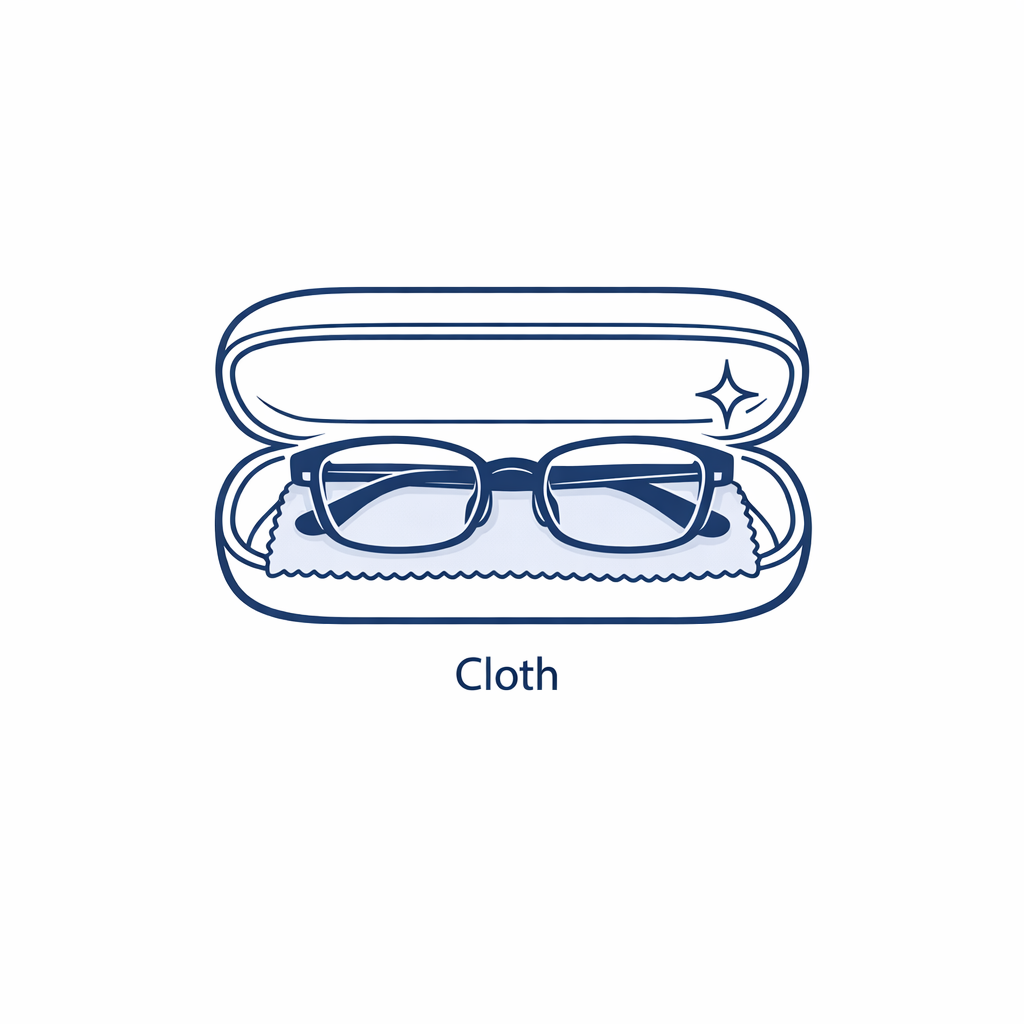
Put a clean microfiber cloth between the lenses and anything else inside the case. If you use tissue, make sure it is soft and free of grit, since dust can scratch when it rubs.
Avoid rubber bands directly around the frame front, since they can press into lenses or coatings. If you must secure the temples, wrap the frame first with a soft layer.
Step 3: Immobilize in an inner container (hard case is best)
The safest inner container is a hard glasses case with a snug fit. If you do not have one, create a “mini box” using a small rigid carton, then pad it so the frame cannot move.
Movement is the enemy. If the frame can rattle, it can bend.
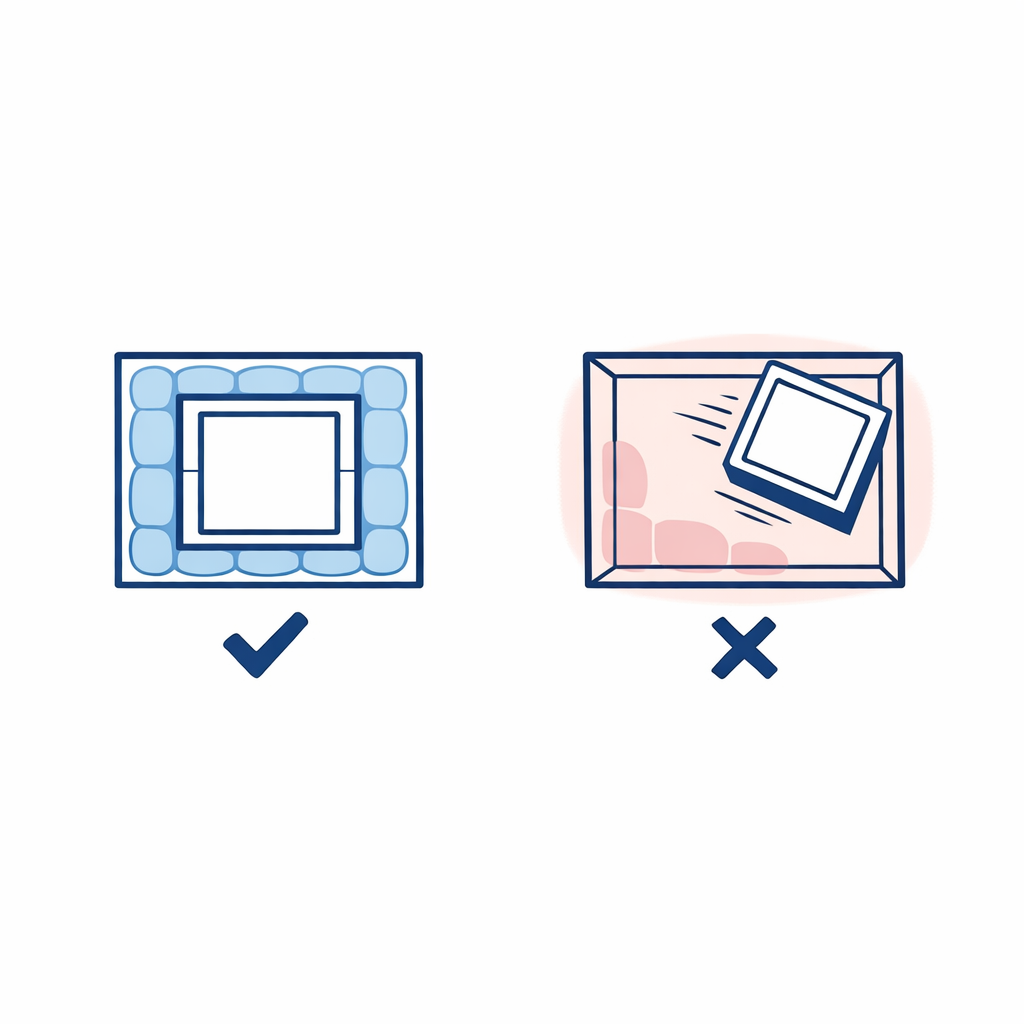
Step 4: Cushion and double-box (the drop-proof upgrade)
Place your inner case or inner box into a larger outer shipping box and surround it with padding on all sides. Major carriers publish general packing guidance that emphasizes sturdy boxes, cushioning, and eliminating empty space, such as USPS guidance on packing a box.
If you are shipping something fragile or high-value, “double boxing” can help because it adds another layer to absorb impact. FedEx also describes core principles like using a sturdy outer box, adequate cushioning, and sealing seams in its packing tips.
Step 5: Choose the right outer box (size and strength matter)
Pick a box that is only a little larger than your padded inner container. Oversized boxes invite shifting, and shifting invites damage.
Use a new or like-new corrugated box when you can, since worn corners and softened cardboard reduce protection. UPS summarizes similar best practices in its packaging guidelines, including using strong boxes and filling void space so items do not move.
Step 6: Seal and label (make it hard to fail)
Tape all seams well, especially the center seam and both edge seams. If the box has any old barcodes or labels, remove or fully cover them to reduce mis-scans.
Put a duplicate address label or note inside the box, so the shipment is still identifiable if the outer label is damaged.
What to include when sending glasses (so the lab can start immediately)
Even perfect packaging can still lead to delays if the receiving team cannot match your frames to your order. Include a simple “packing slip” note inside the box.
- Your full name and the name on the order (if different)
- Order number (or service request number)
- Return shipping address and a daytime phone number
- Email address for shipment updates or fit questions
- Clear instructions (for example: “Replace both lenses,” “Keep existing nose pads,” “Call me if frame looks stressed”)
If your service asks for a printed confirmation page, include it. If you are unsure, write the essentials above on a plain sheet of paper and you will still be covered.
Packaging tips for different frame types
Metal frames (bend risk)
Metal frames can bend at the bridge or hinges if they are squeezed. Use a hard case or a rigid inner box, then pad the sides so pressure does not reach the frame front.
Acetate frames (crack risk)
Acetate can crack if it is stressed at thin points near the hinges. Avoid forcing the temples shut too tightly, and do not wedge the frame into a case that is too small.
Rimless or semi-rimless (lens edge risk)
Rimless styles rely on the lens edges and mounting hardware, so they need extra immobilization. Pad the frame so it cannot twist, and consider adding a soft wrap around the bridge area to reduce point pressure.
Prescription sunglasses (coating care)
Mirror and anti-reflective coatings can scratch if rubbed. Separate the lenses from any hard surfaces and keep the frame from sliding around inside the case.
Common mistakes (and how to avoid them)
Mistake 1: Shipping in a soft mailer or thin envelope
A padded envelope can still fold and crush. If you are trying to protect frames in transit, always use a rigid box, even if the shipment is small.
Mistake 2: “It fits, so it’s fine” (but the frame can move)
If the frame can shift inside the case, it can slam into the case on a drop. Add soft fill so the frame stays put.
Mistake 3: Using a box that is too big
Big boxes are easy to underfill, which creates momentum inside. If you must use a larger box, add enough cushioning to eliminate all empty space.
Mistake 4: Forgetting identification inside the box
Labels can tear or smear. A simple note inside with your order number and contact details prevents “orphan packages” and speeds up processing.
Mistake 5: Over-taping the glasses case instead of stabilizing the contents
Tape on the outside of a case does not stop the frame from moving inside the case. Stabilize the frame first, then secure the case closed if needed.
Mail-in lens replacement shipping tips: timing, tracking, and peace of mind
Ship earlier in the week when you can, so your box spends less time sitting over a weekend. Keep your receipt, tracking number, and a couple of photos of how you packed it.
If you are sending an everyday pair you rely on, have a backup option ready for driving, work, or sports while your frames are in transit and being serviced.
What to do next (print-and-pack checklist)
- Before you pack: confirm the service address and any special instructions in your order email or account page.
- Prepare the frame: fold temples carefully, remove accessories, and add a clean microfiber layer over lenses.
- Immobilize: place in a hard case (or padded inner box) so the frame cannot rattle.
- Outer box: use a rigid corrugated box with cushioning on every side.
- Paper inside: add name, order number, return address, email, and phone number.
- Seal: tape all seams securely and remove old labels.
- Document: snap photos of the packed item and the sealed box.
- Ship: choose a method you are comfortable with and keep proof of shipment.
Shop eyewear, replace lenses, and get fit help at LensDirect
If you are ready to refresh your current frames or start fresh with a new pair, LensDirect offers straightforward options depending on what you need most: new frames, new sun protection, or a quick restock of contacts.
- Replace Your Lenses if you love your frames but want updated prescription lenses or new lens features.
- Full-Service Replacement (send-it-in option) if you prefer having your lenses replaced by mailing in your frames.
- Order Replacement Lenses (DIY option) if you want replacement lenses for compatible frames and prefer a do-it-yourself route.
If you are shopping for a new look or a purpose-built pair, you can browse:
- Shop Glasses for everyday prescription eyewear.
- Shop Sunglasses for driving glare, outdoor sports, and bright conditions.
- Shop Contacts for travel convenience, comfort, and easy reorders.
For sizing and order accuracy, these quick guides can help before you place an order:
- Find Your Fit to narrow styles that complement your face shape.
- Learn How to Measure Your Pupillary Distance to reduce the chance of prescription alignment issues.
- Learn How to Get Reimbursed by Your Insurance if you want to use out-of-network benefits.
Author
Subscribe to our email newsletter to get the latest posts delivered right to your email.