
Wearing contact lenses shouldn’t stop you from going full glam — sparkly lids, bold liner, fluttery lashes, the works. But the closer makeup gets to your eyes, the more important technique and hygiene become. Product fallout, oily removers, and flaky mascaras can all migrate onto your lenses, causing blur, discomfort, or even infection. This expanded guide translates eye-care best practices into a step-by-step routine so you can create smudge-proof, eye-safe looks for the holidays (and every day) without sacrificing comfort.
TL;DR: The Non-Negotiables
- Clean, dry hands. Oils and microbes on fingers are the #1 risk to both lenses and eyes.
- Contacts in first, out first. Insert lenses before makeup; remove lenses before makeup removal.
- Avoid the waterline. No liner or shadow on the inner rim where the lens rides.
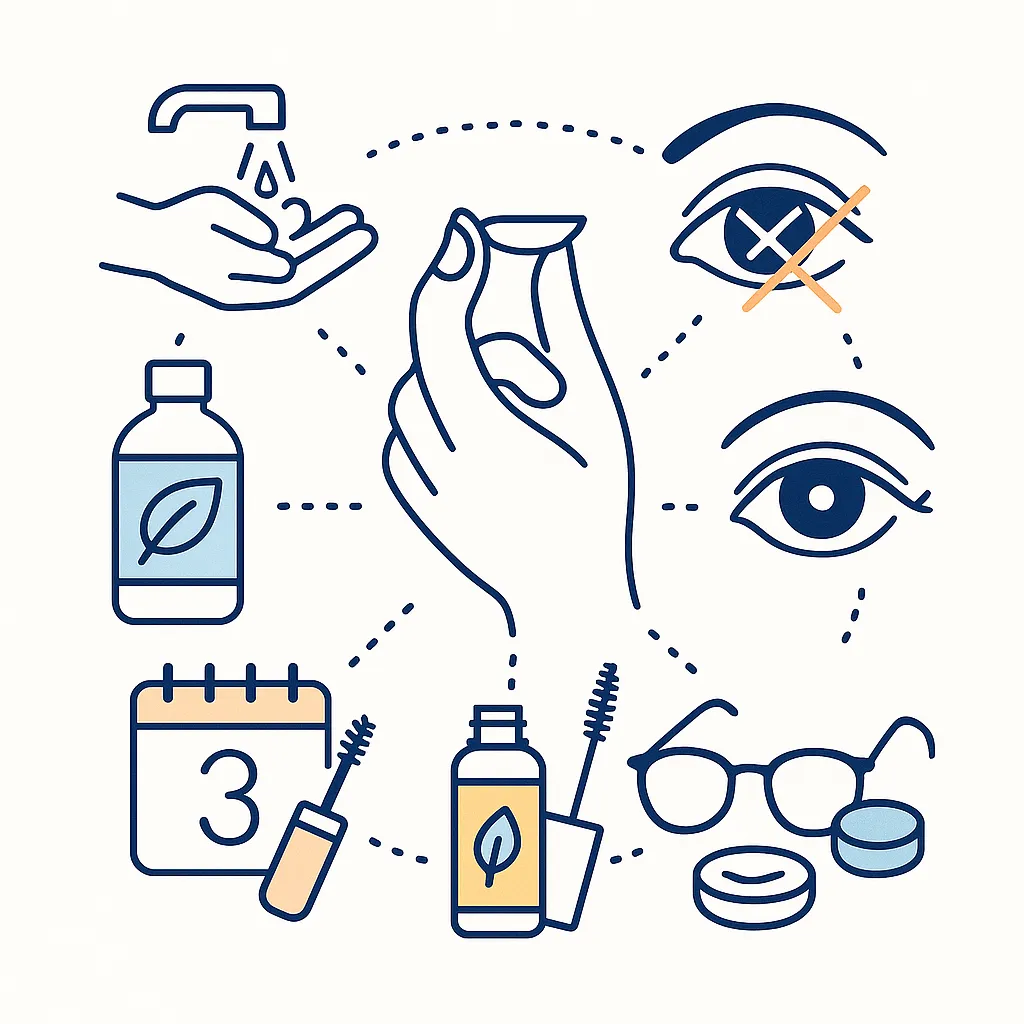
Choose contact-friendly formulas. Hypoallergenic, fragrance-free, water-based, and low-flake.
Replace eye makeup regularly. Mascara/liner every ~3 months; toss anything used during an eye infection.
When in doubt, switch to glasses. If you’re sick, have redness, pain, or light sensitivity, give your eyes a break.
Prep: Hands, Lenses, and Skin (In That Order)
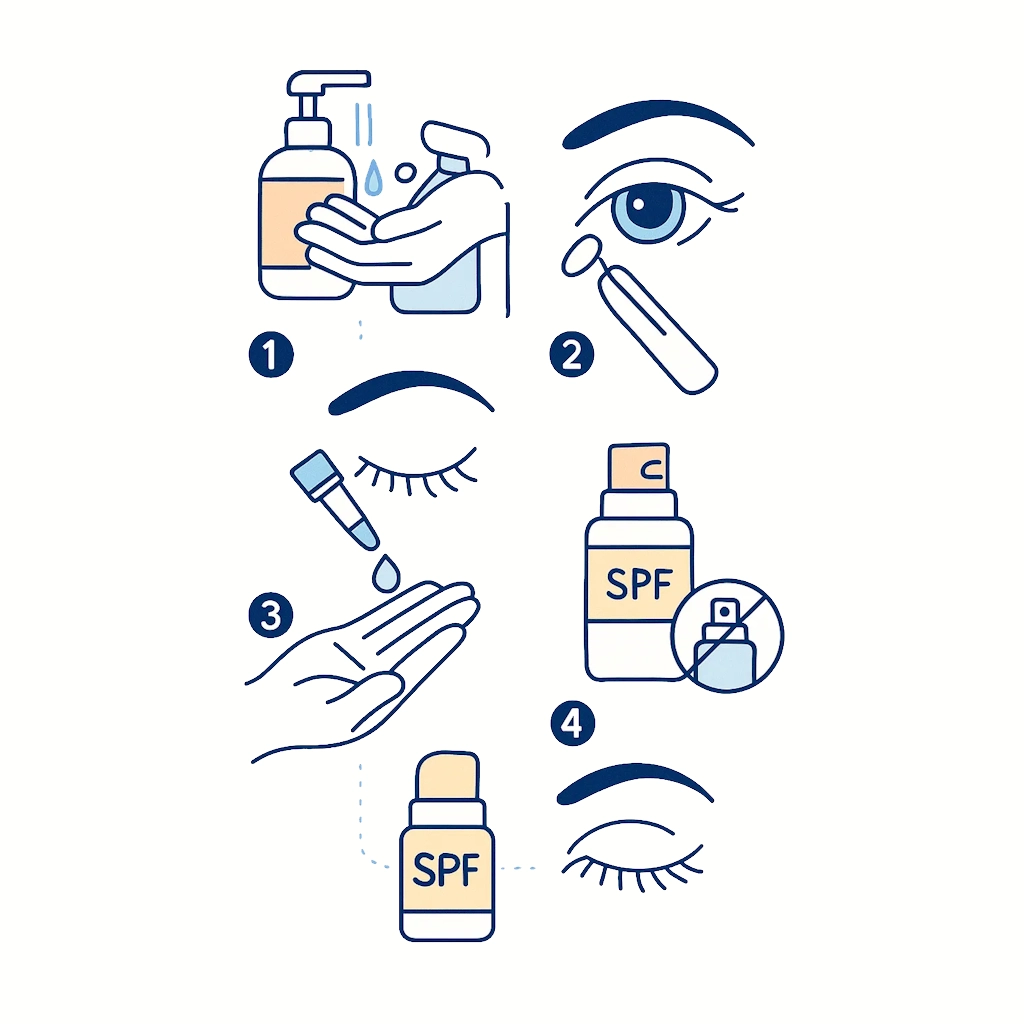
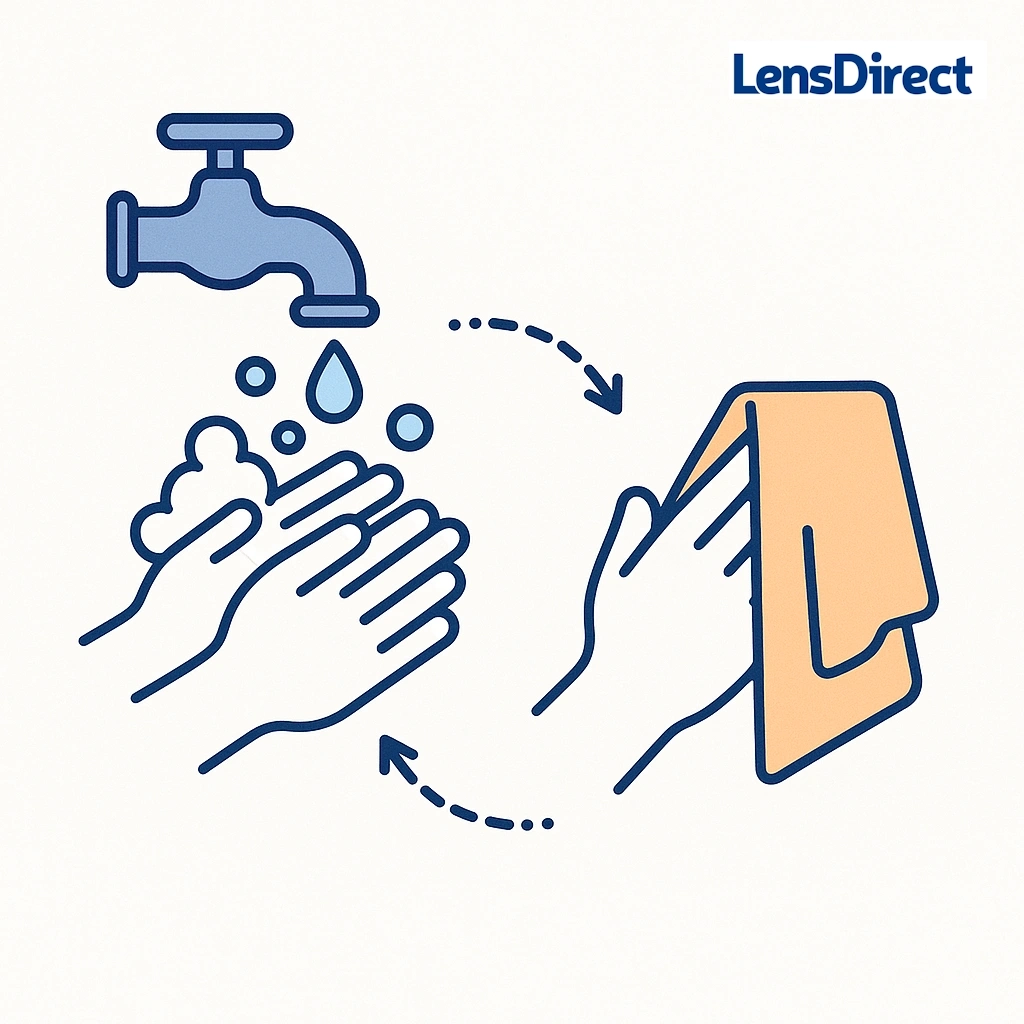
- Wash → dry your hands thoroughly. Use soap and water for at least 20 seconds, then dry with a clean, lint-free towel. Damp hands can shed fibers that cling to lenses.
- Insert contacts before makeup. Putting lenses in first prevents trapping pigment or skincare under the lens, and keeps brushes, powders, and creams away from your contact case.
- Prime your canvas (carefully):
- Keep rich oils and heavy balms off the eyelids — they migrate and smear eye makeup onto lenses.
- Use a silicone-free, water-based eye primer to lock shadow without creating a slippery film.
- Apply SPF as sticks or gels that don’t travel; avoid aerosol sprays near eyes.
Choosing Makeup That Plays Nice With Contacts
Labels & Formats That Help
- Ophthalmologist-tested, hypoallergenic, fragrance-free formulas reduce the likelihood of irritation.
- Favor creams, pressed powders, gels, and liquid liners over loose pigments and chunky glitter that can flake or fall into the eye.
- Choose water-based over oil-based near the eyes to minimize smudging and lens residue.
What to Skip (or Use Sparingly)
- Loose glitter and fiber mascaras. Both shed easily. If you want sparkle, pick creams or liquid shimmers and keep them on the outer lid only.
- Waterline tightlining. The inner rim is where your lens glides and where tiny oil glands live — lining here increases contamination and dryness.
- Strong fragrance or essential oils near the eye; they can sting or sensitize.
Eyeliner & Mascara: Max Drama, Minimal Fallout
Eyeliner
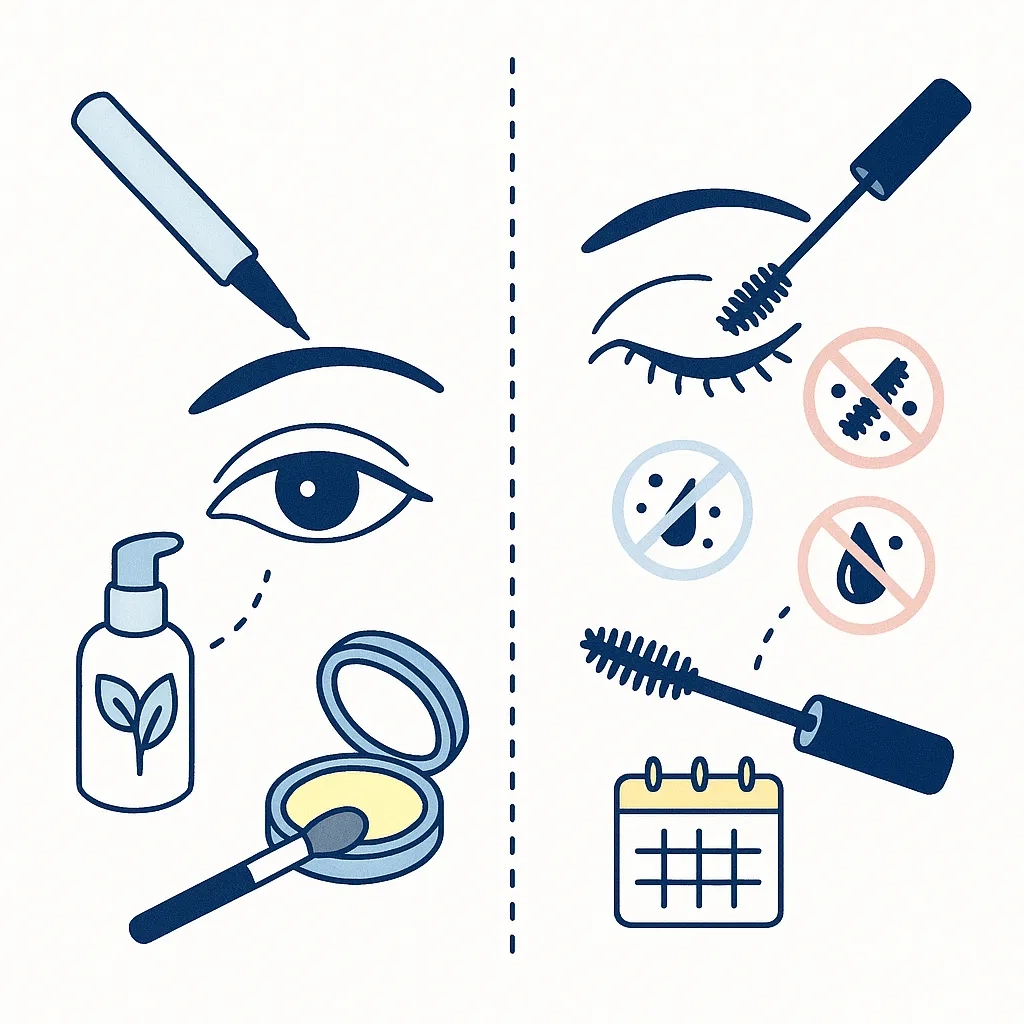
- Liquid or gel beats crumbly pencils. They glide on with less pressure and fewer flakes.
- Keep liner above the lash line (upper lid) and below the lash line (lower lid) — not on the inner rim.
- For smoky looks, set creamy liners with a matching pressed shadow so they don’t migrate.
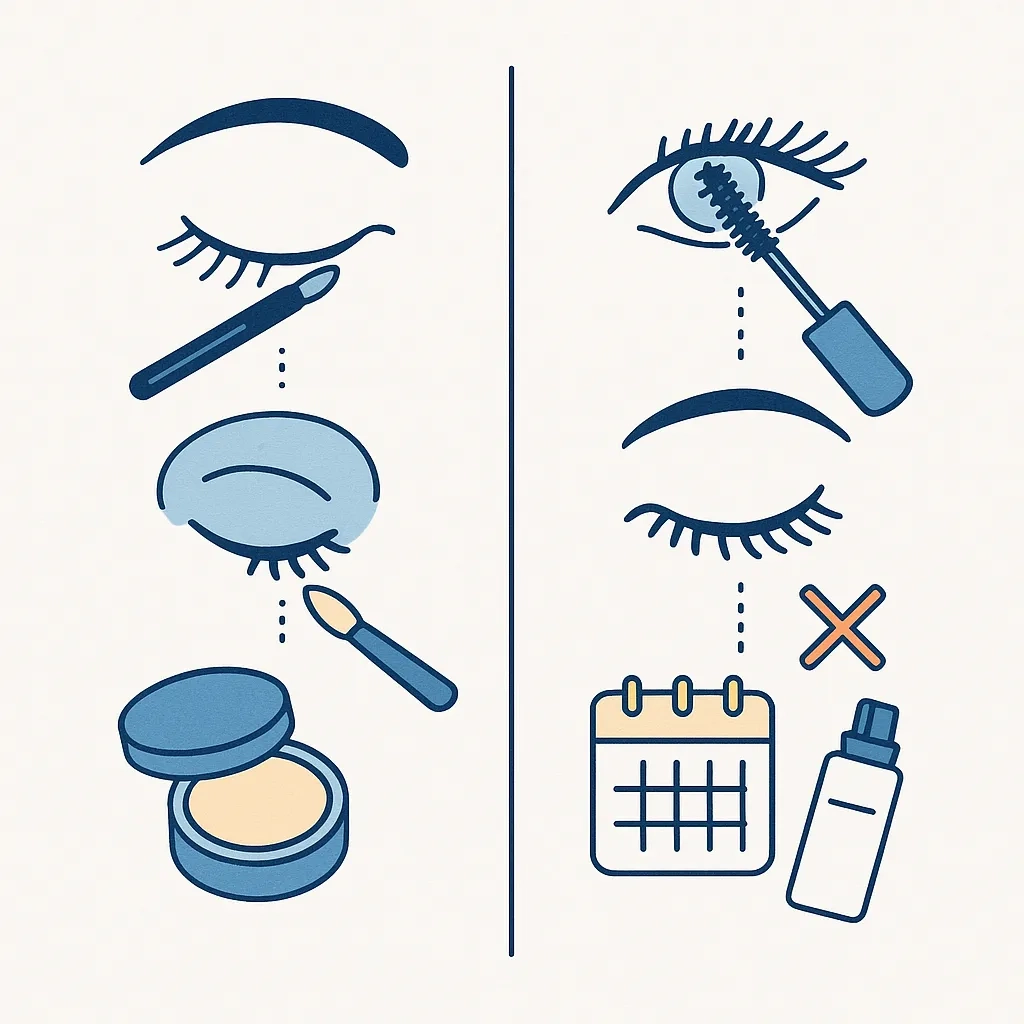
Mascara
- Reach for tubing or smudge-resistant formulas that form tiny polymers around each lash and slide off with warm water — less flake, less fallout.
- Application trick: start at the mid-lash and pull through the tips. Avoid loading the roots, which nudges product toward your lens.
- No fibers, no glitter. They look great in photos and terrible on contacts.
- Shelf life: replace every ~3 months, sooner if it smells off or seems drier than usual.
Lash curlers & tools
- Wipe curlers with a little micellar water on a cotton round after use.
- Keep spoolies and lash combs clean; pigment-caked tools = flake factory.
Eyeshadow Without the Fallout
- Prime first. A thin, even layer of eye primer grips color and reduces fallout.
- Press, don’t sweep. Pack pigment onto the lid with a dense flat brush, then gently blend the edges with a clean, soft brush.
- Dampen your brush (a touch of setting spray, not water) when using shimmers — this “foils” the formula and cuts flyaway particles.
- Reserve high-shine shimmer for the outer third of the lid; keep the inner corner and lash line more matte to reduce migration.
Face Makeup That Won’t Sabotage Your Eyes
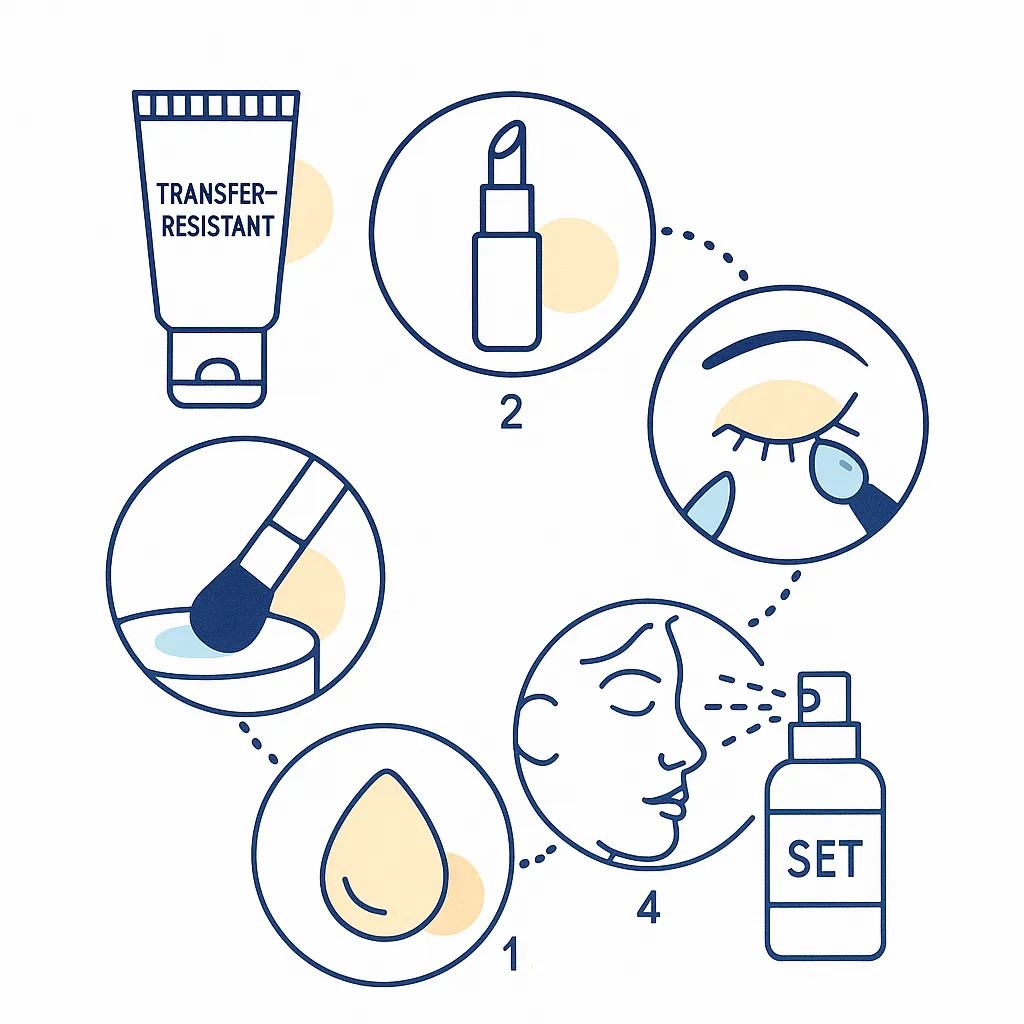
- Choose transfer-resistant foundations and concealers around the eye area. Creamy but set-down formulas keep pigment in place.
- Use powder sparingly near the lash line — baking under-eyes can kick loose particles onto lenses.
- Pick alcohol-light setting sprays and mist lightly with eyes closed. A gentle press with a clean sponge sets makeup without extra residue.
Application Order That Protects Your Lenses
- Put contacts in.
- Skincare (avoid heavy oils on lids).
- Eye primer.
- Do eyes first (shadow → liner → mascara).
- Clean up any fallout with a damp cotton round.
- Complexion (foundation, concealer, cheeks).
- Brows and lips.
- Light set.
Doing eyes first lets you remove fallout cleanly before base products turn stray pigment into stains you’ll keep chasing toward your eyes.
Clean Tools = Calm Eyes
- Brush bath routine: wash eye brushes weekly (more often for cream products). Use mild soap; rinse until water runs clear; dry bristles downward.
- Quick cleans between shades with a dry brush cleaner pad reduce buildup that leads to flaking.
- Hands off the mascara wand. Don’t wipe excess on your fingers — use a clean tissue, and never share eye products.

Removal: Lenses Out First, Always
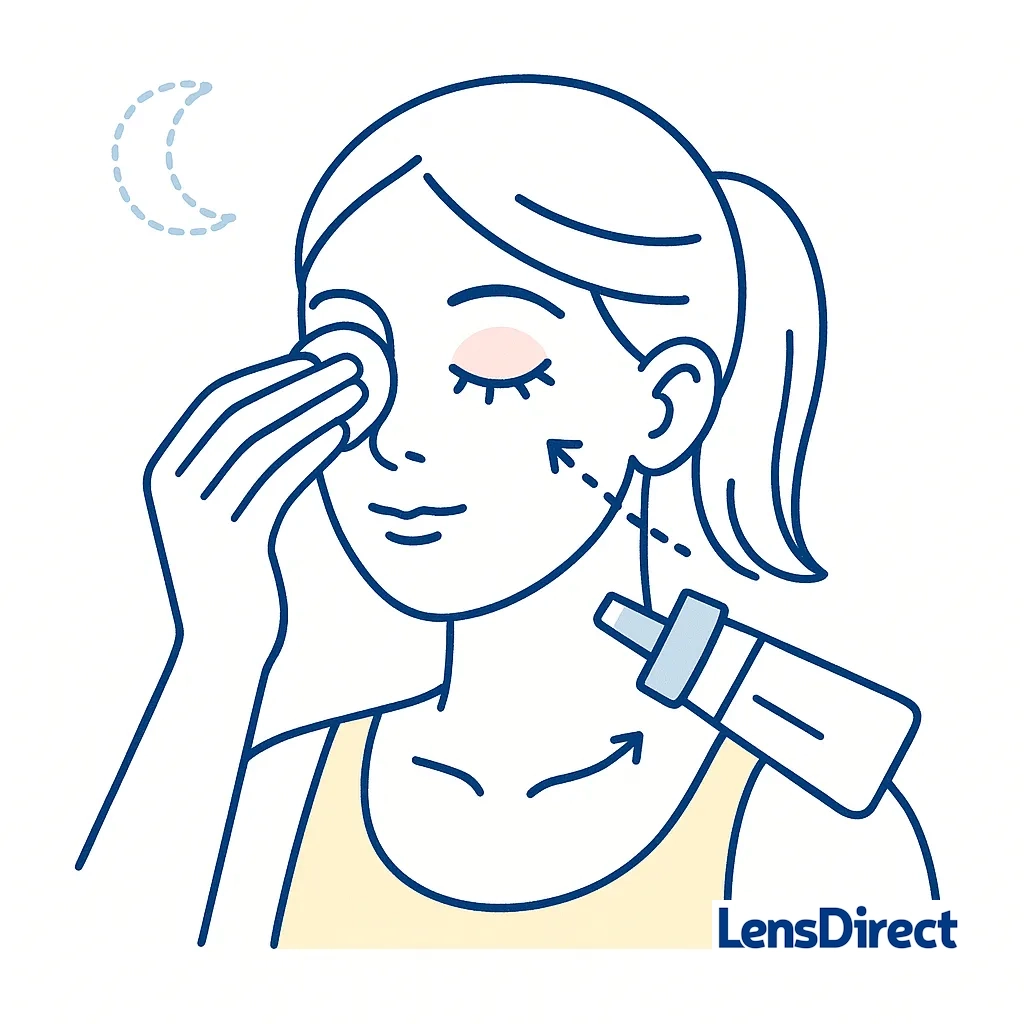
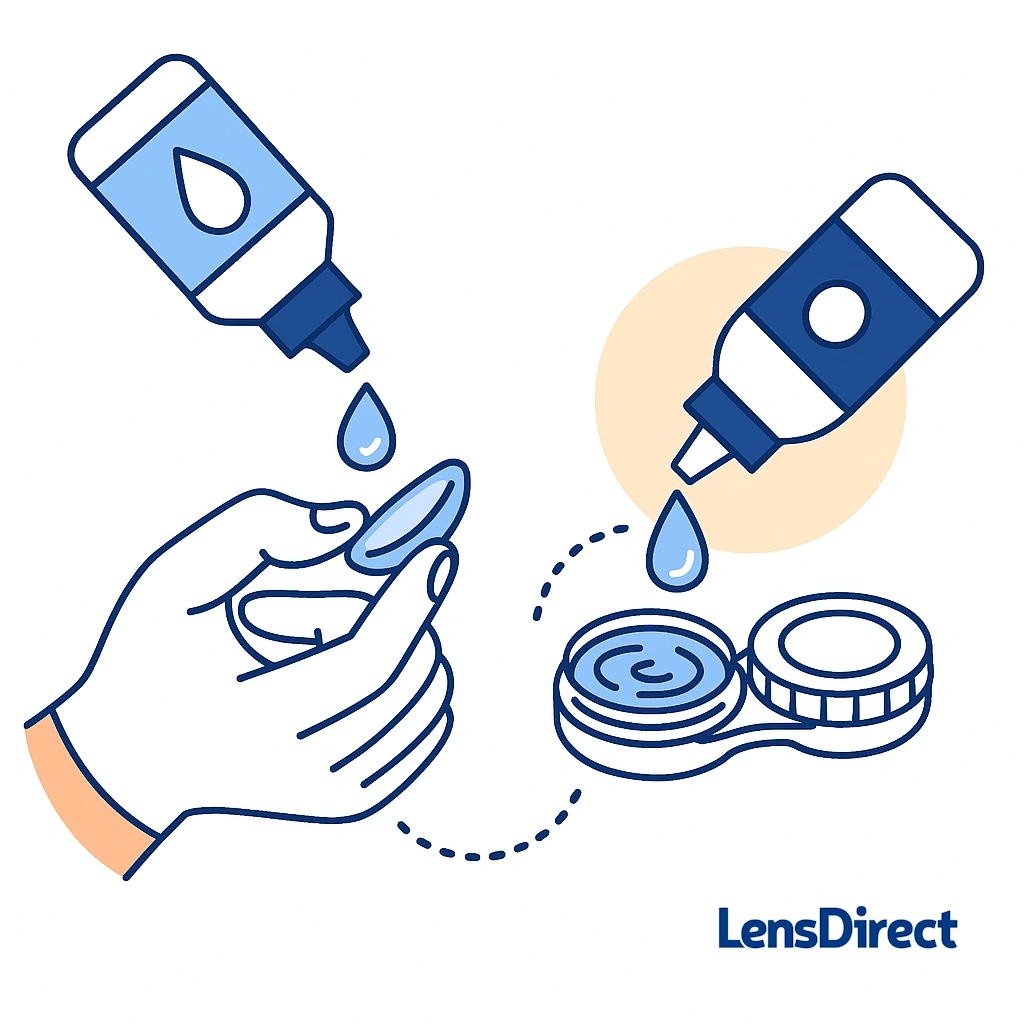
- Remove contacts before any makeup remover. This prevents removers (especially oily ones) from soaking into lenses. Store lenses in fresh solution — never top off.
- Choose oil-free, fragrance-free removers or micellar water for the eye area. Hold a soaked cotton round over the lid for 10–15 seconds, then gently swipe downward. No rubbing or tugging.
- Avoid linty pads that shed fibers. If your pads shed, switch to tightly woven rounds or a clean, soft cloth.
- Follow with your regular face cleanse. Pat dry with a clean towel.
Extra Considerations
False Lashes & Extensions
- If you wear falsies, use latex-free, low-fume adhesives and apply glue to the band only, keeping it out of the lash line.
- With lash extensions, work with a trained pro and avoid rubbing your eyes. If they feel irritating, have them removed professionally rather than picking.
Colored & Decorative Contacts
- Only wear prescribed color lenses from a reputable seller. Non-prescription “costume” lenses can scratch or infect the eye.
- Pair colored lenses with subtle outer-lid shimmer and defined brows — let the lens color be the star.
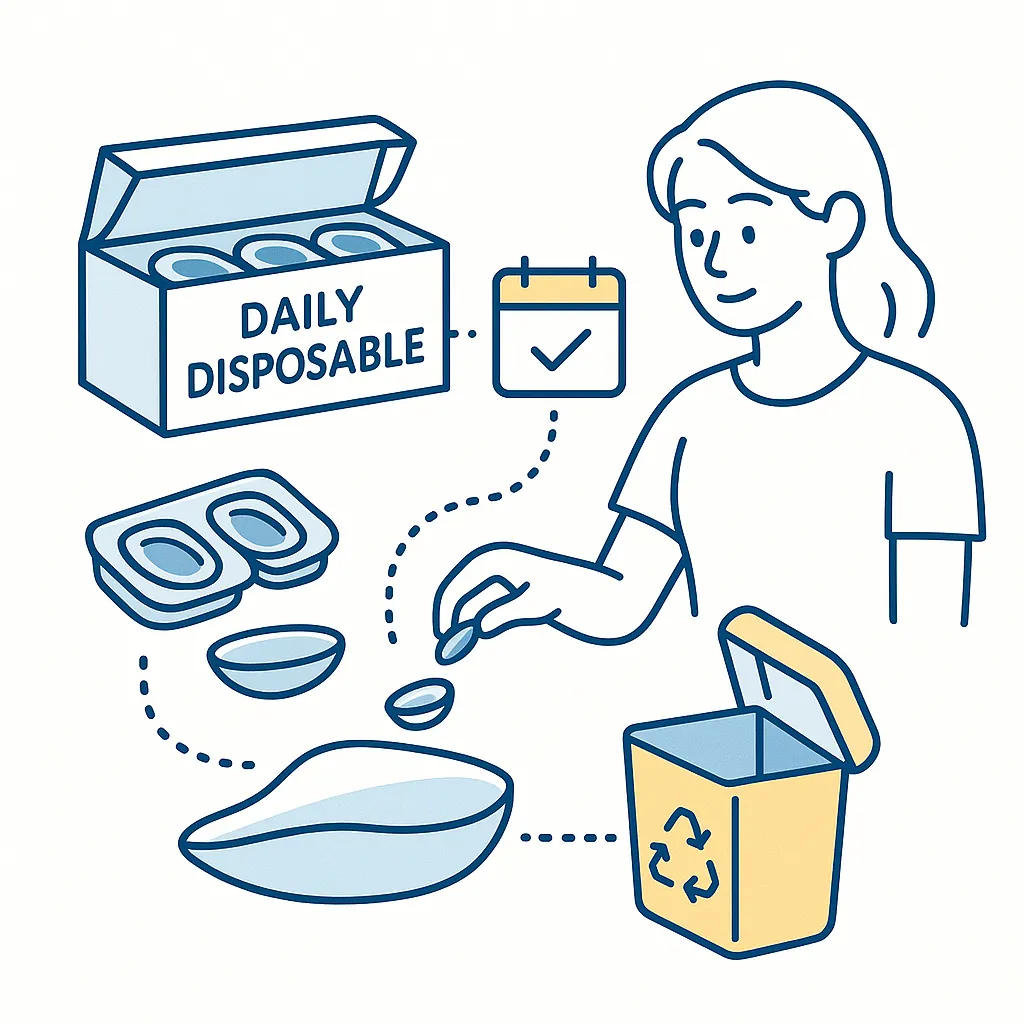
Daily Disposables for Big Makeup Days
- If you’re doing heavy glam (weddings, photoshoots, NYE), daily disposables are clutch. If makeup contaminates a lens, dispose and start fresh the next day — no scrubbing needed.
Keep the Lens Case Clean
- If you wear reusable lenses, rinse the case with fresh solution daily, let it air dry face-down, and replace the case every ~3 months.
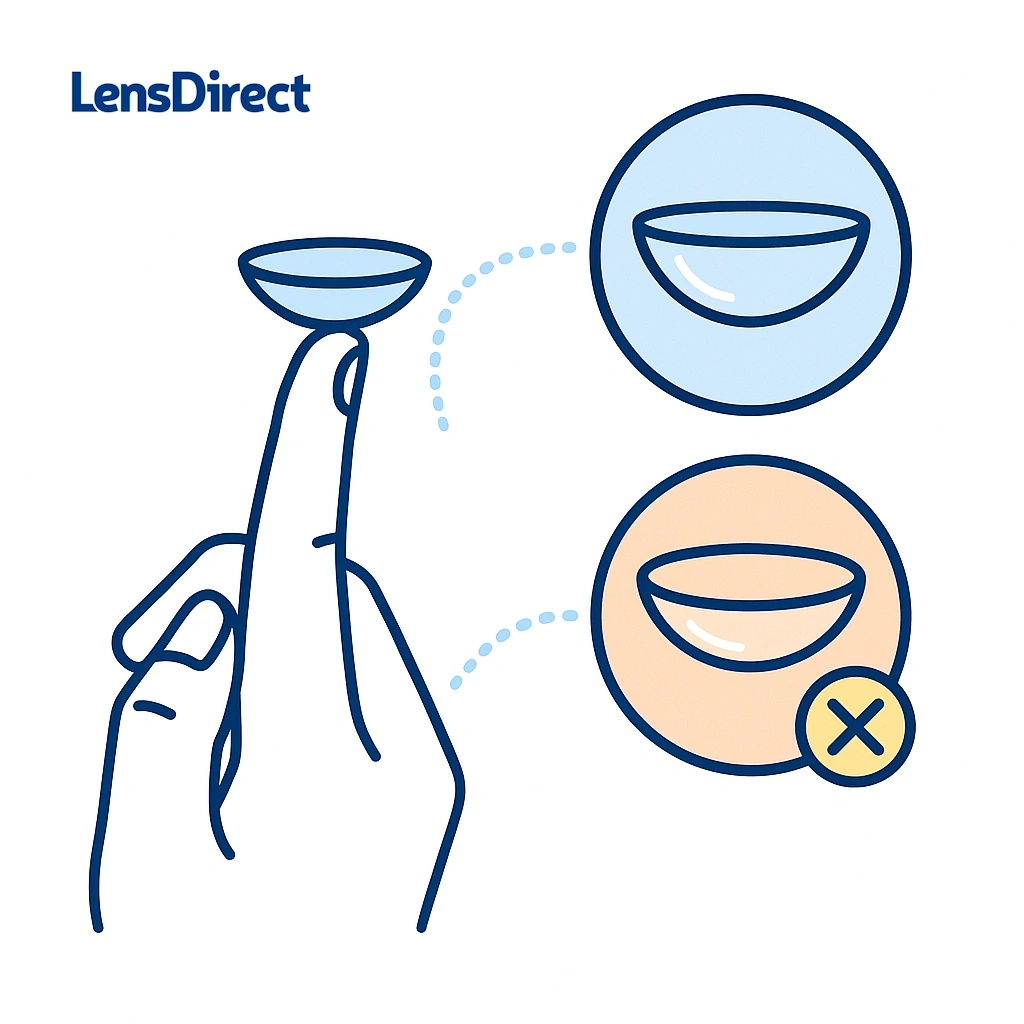
Troubleshooting: If Makeup Hits Your Lens
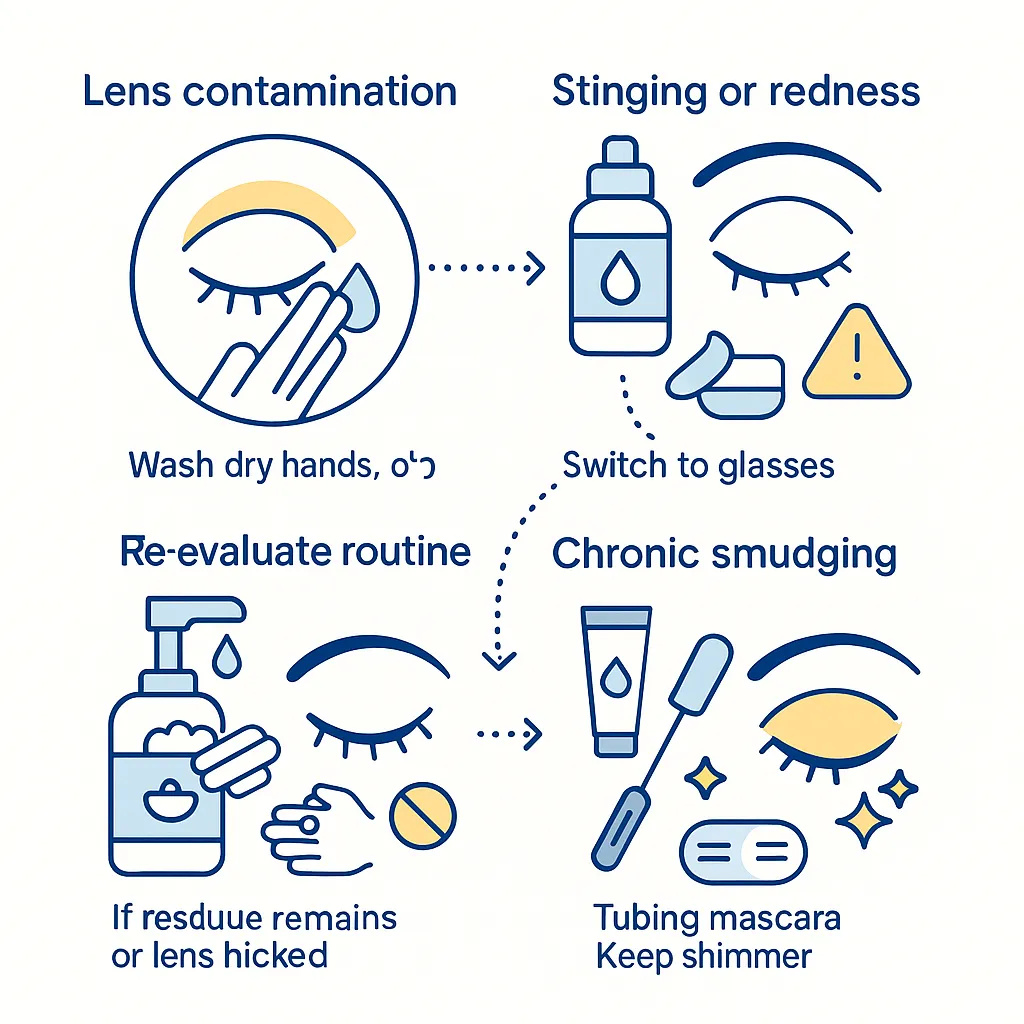
- Feels gritty or blurry? Wash and dry hands, remove the lens, rinse with multipurpose solution, inspect. If you can’t remove residue or if the lens feels nicked, discard it (another reason dailies shine).
- Stinging or redness? Remove lenses immediately, rinse eyes with sterile saline, and switch to glasses. If symptoms persist, contact your eye-care provider.
- Chronic smudging? Revisit your routine: avoid oil at the lash line, switch to tubing mascara, and keep shimmer to the outer lid.
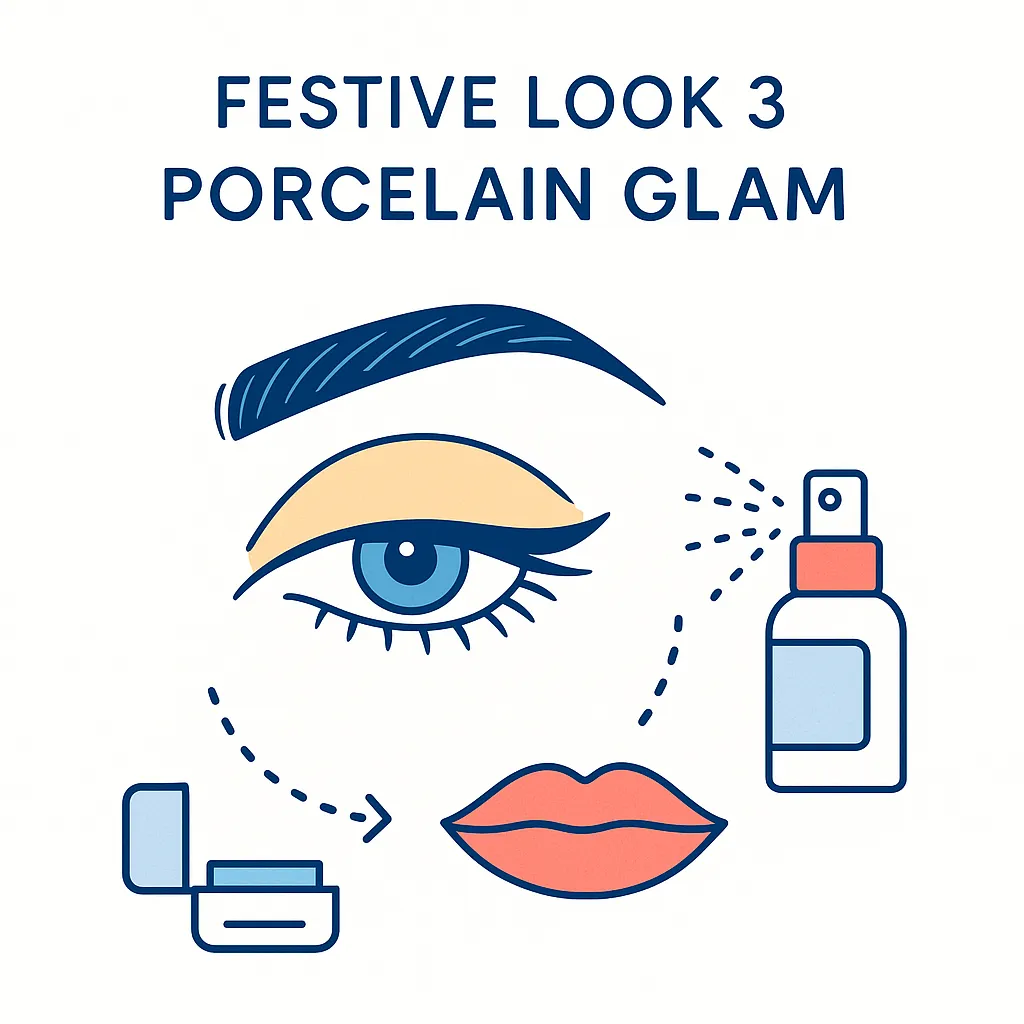
Festive, Contact-Friendly Look Recipes
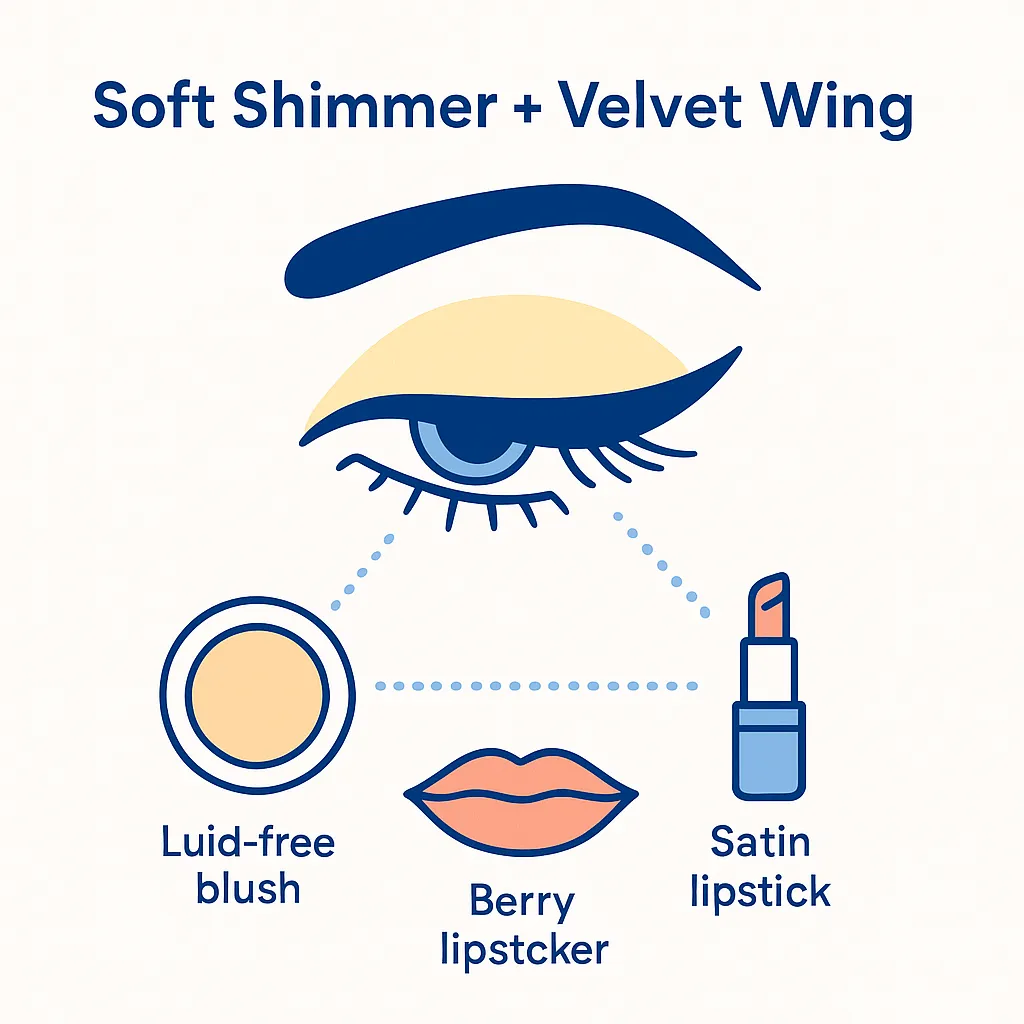
1) Soft Shimmer + Velvet Wing
- Why it works: All sparkle stays on the outer third of the lid; the wing sits above the lash line — no tightlining.
- How-to: Prime → matte taupe in crease → cream shimmer on outer lid pressed on → liquid winged liner (thin) → tubing mascara from mid-lash to tips → rosy cream blush → satin berry lip.
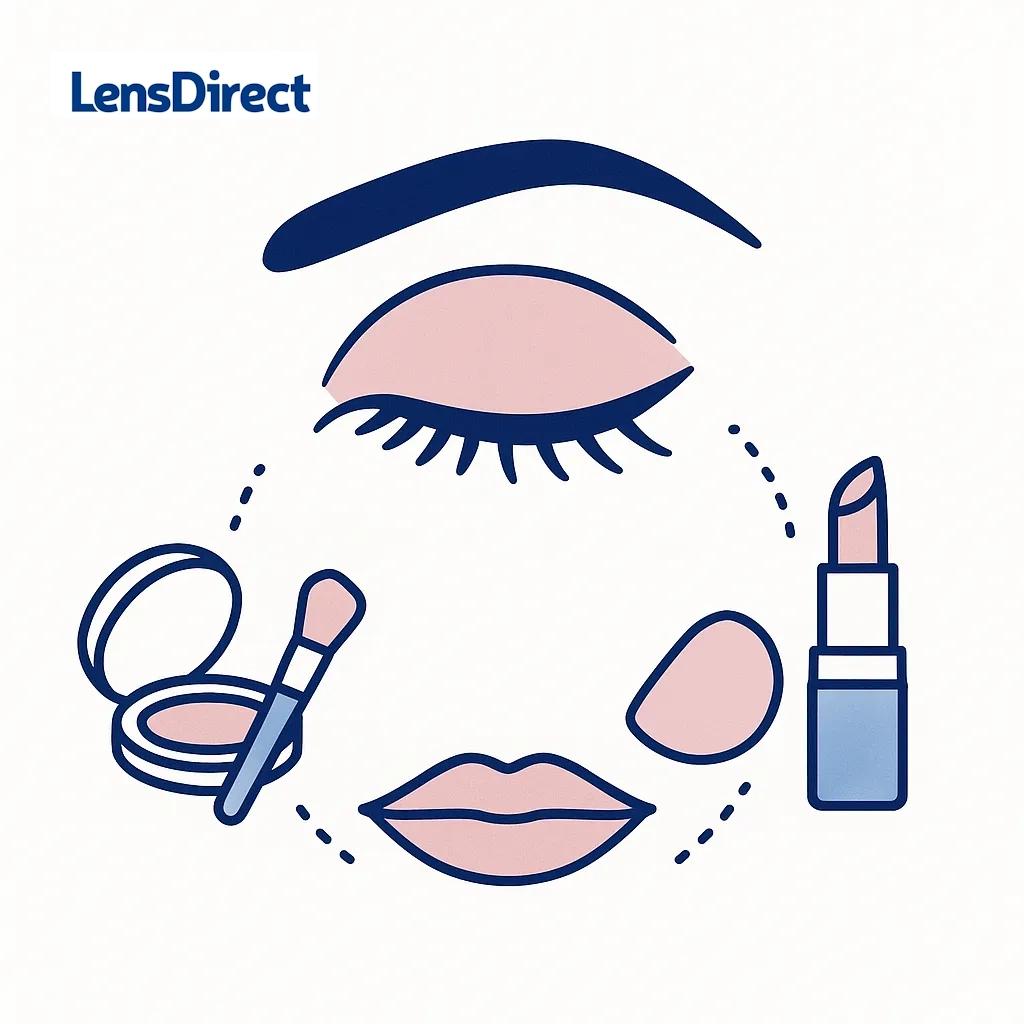
2) Modern Monochrome
- Why it works: One color family (mauve/rose/terracotta) minimizes product mixing and migration.
- How-to: Cream shadow stick over lid (no glitter) → set edges with matching pressed powder → gel liner kept close to lashes (no waterline) → clear brow gel → diffused matching lip.
3) Glam Gilded Under-Glow
- Why it works: The pop sits below the lower lashes, not on the inner rim, and is sealed with setting mist.
- How-to: Matte lid + soft crease → tiny touch of cream shimmer smudged just under the outer lower lashes → waterproof micro-line on upper lashes → a single coat tubing mascara.
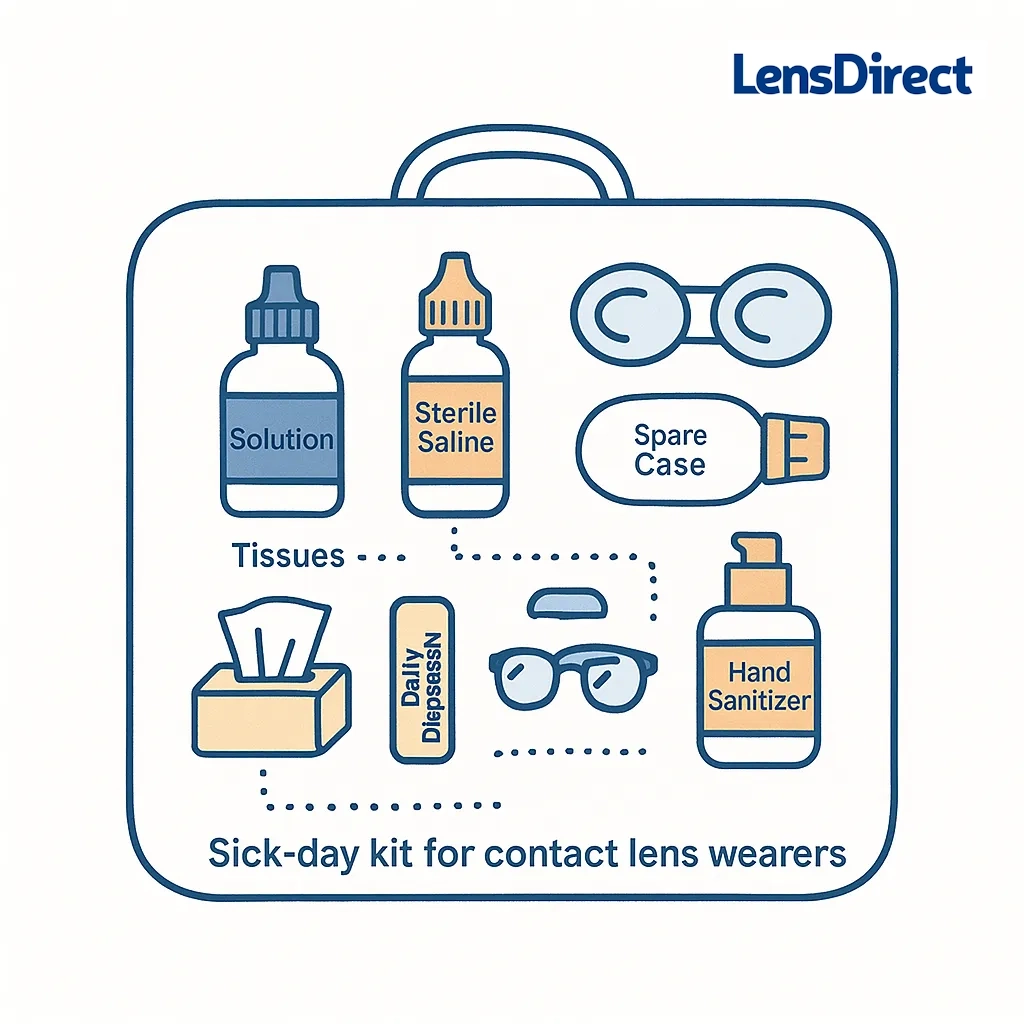
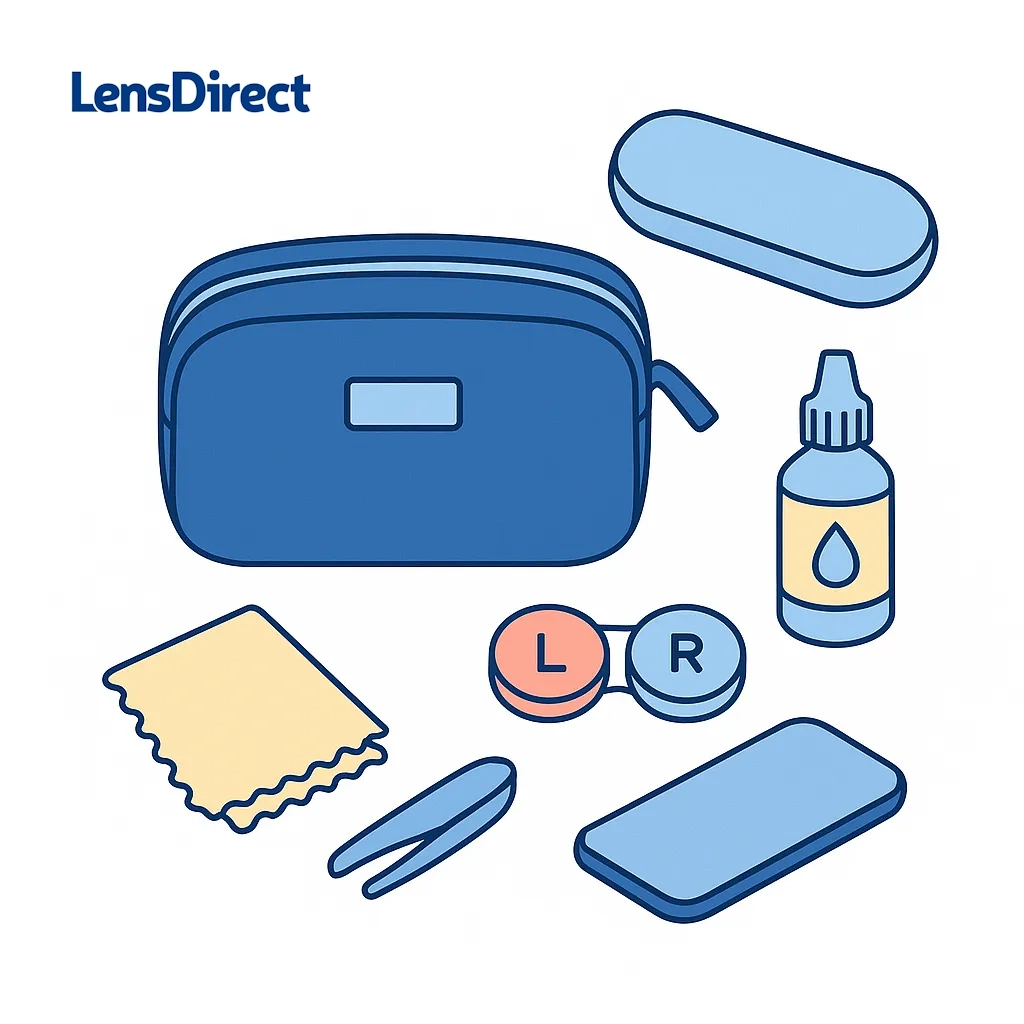
Build a Contact-Safe Holiday Kit
- Spare daily contacts (or your backup glasses)
- Travel-size multipurpose solution and a clean case
- Preservative-free rewetting drops labeled safe for contact lenses
- Compact mirror, lint-free cotton rounds, and eyelid wipes
- Mini micellar water (oil-free)
- Clean spoolie and small flat shadow brush
- Tissues for catching fallout while applying
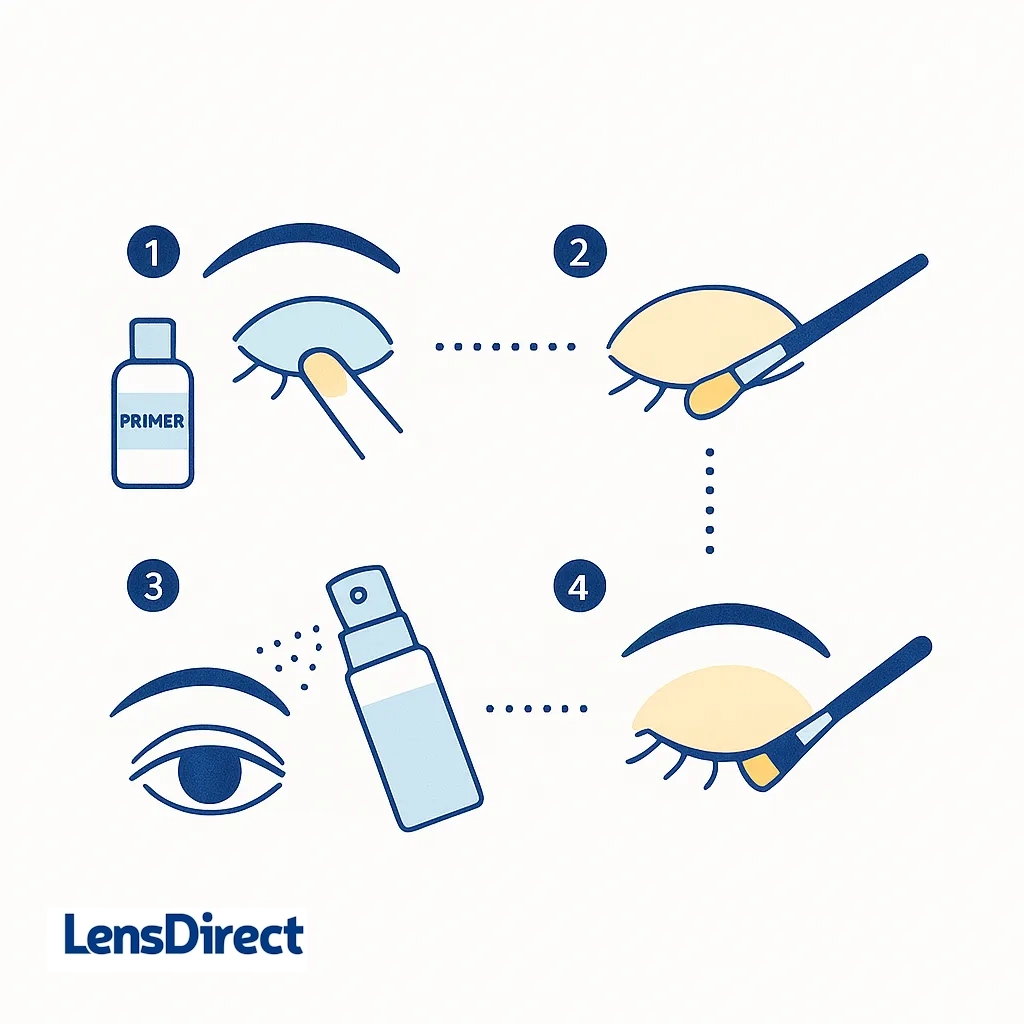
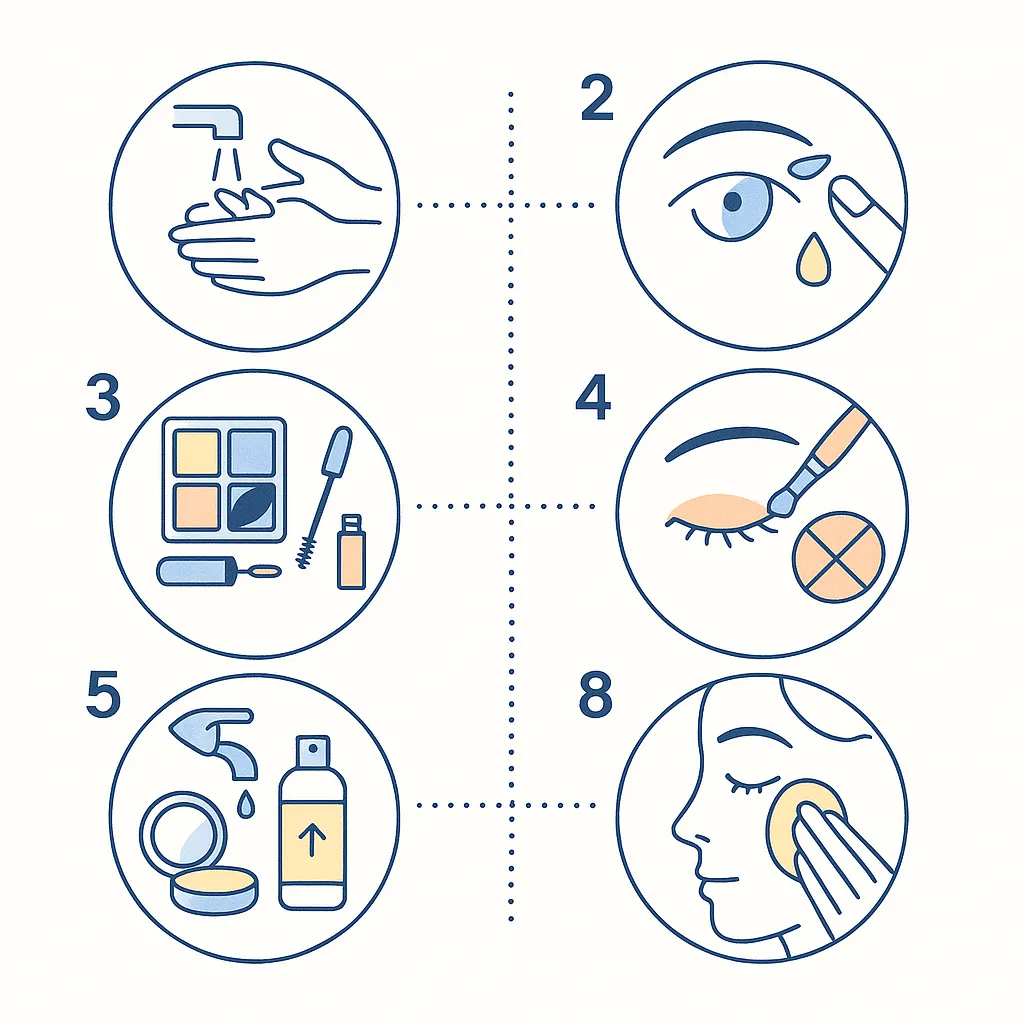
A Sample, Smudge-Proof Routine (Step-By-Step)
- Wash/dry hands → insert lenses.
- Lightweight skincare; keep oils off lids.
- Eye primer from lash line to brow.
- Press cream/pressed shadow on lids; blend edges.
- Liquid/gel liner above lashes only.
- One coat tubing mascara from mid-lash to tips.
- Clean any fallout; then apply foundation/concealer.
- Set strategically (no heavy powder near lash line).
- Brows/lips; light setting mist with eyes closed.
- End of day: Wash/dry hands → remove lenses → oil-free remover for eyes → cleanse face.
How LensDirect Can Help
Stunning makeup and comfortable contact lenses absolutely can co-exist. Focus on clean hands, smart product choices (hypoallergenic, low-flake, water-based), and technique that keeps pigment off the waterline and away from your lenses. Put your contacts in before makeup and take them out before removers touch your lids. When the look calls for heavy glam, consider daily disposables for a fresh start the next morning. If your eyes ever feel irritated — redness, pain, light sensitivity — remove lenses immediately and switch to glasses while you check in with your eye-care provider.

Ready to try looks that love your lenses back?
Stock up on your prescribed contacts (daily disposables are perfect for party season), keep your tools clean, and go enjoy those festive photos — smudge-free and eye-happy.
Frequently Asked Questions
Can I tightline my upper waterline with contacts?
It’s best to avoid the waterline entirely. Pigment here transfers to lenses and can block oil glands, worsening dryness and fog.
Is waterproof mascara safe?
Yes — if it’s low-flake and removed after you take out your lenses. Tubing mascaras are often gentler to remove and shed less during the day.
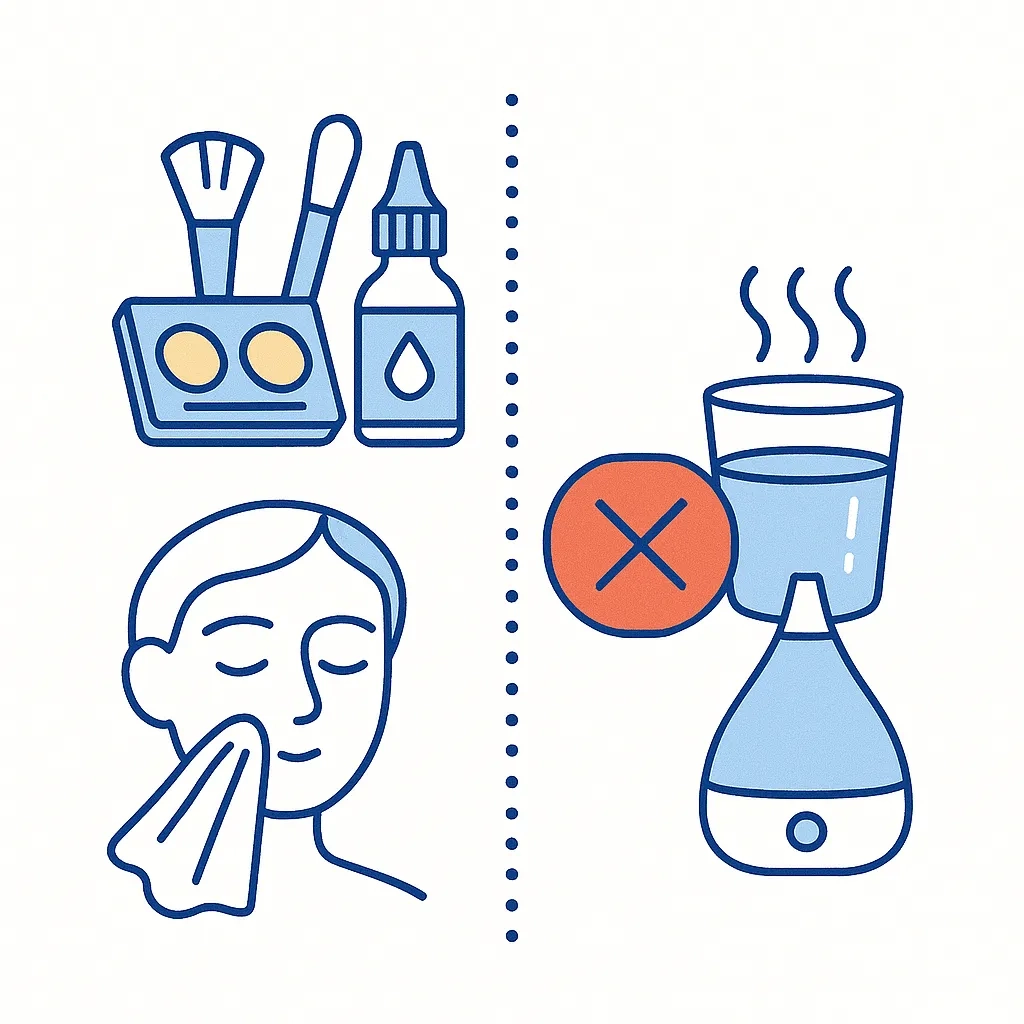
My eyes feel dry with makeup — what helps?
Blink consciously, use contact-safe lubricating drops, run a humidifier in dry rooms, and stick to water-based primers near the eyes.
I’m sick — can I still wear contacts with makeup?
Switch to glasses until you’re fully recovered. Illness changes tear quality and increases infection risk, especially with eye makeup in the mix.
Author
Subscribe to our email newsletter to get the latest posts delivered right to your email.